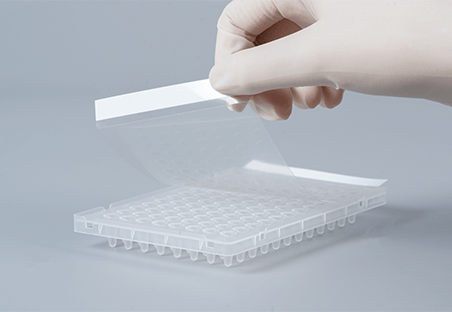
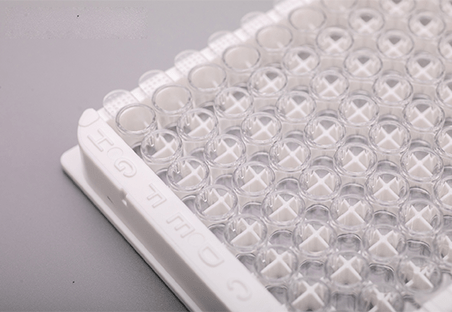
Basic biology, disease modeling, and drug discovery are just a few of the many research applications that use the fundamental technique of cell culture. Within a regulated setting, like a flask or petri dish, cells are grown in cell culture. In vivo research would not be feasible, but this enables scientists to examine the behavior and functionality of the cells. Experiments involving cell culture require cell culture plates. They give cells a sterile environment in which to develop and multiply. The particular application determines the kind of cell culture plate that is utilized. For instance, larger well plates are needed for single-cell analysis while multi-well plates are needed for high-throughput screening experiments. An overview of cell culture plate preparation, selection, and sterility will be given in this guide. It will go over the most important things to think about when selecting a cell culture plate as well as how to keep plates clean and ready to use.
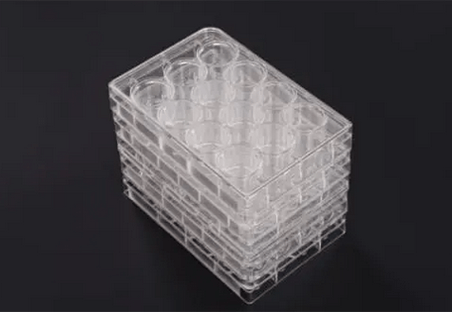
How Do You Prepare Cell Culture Plates?
An essential first step in any experiment involving the growth and study of cells is the preparation of cell culture plates. A sterile, ideal environment for your cells to flourish is ensured by proper plate preparation, producing dependable and repeatable results. Here’s a breakdown of the key steps involved:
Step 1: Gather your materials
- Plates for sterile cell culture (choose the type suitable for your experiment, e.g., 6-well, 12-well, 96-well)
- Culture medium for sterile cells (specific to your cell type)
- Sterile saline buffered with phosphate (PBS)
- Sanitized pipettes and tips for serology
- Suspension of cells in a sterile container
- Optional coating solution (if necessary for particular cell types)
Step 2: Sterilize the workspace
- Using 70% ethanol or an alternative disinfectant, clean the work area.
- Before using, briefly sterilize the pipette tips with a Bunsen burner.
Step 3: Prepare the coating solution (if applicable)
- For proper adhesion and growth, certain cell types necessitate specific components of the extracellular matrix (ECM). As directed by the manufacturer, apply the coating solution to the wells after diluting it in sterile PBS.
- After applying the coating solution, let the plates sit at room temperature for the suggested duration, which is typically 30 to 60 minutes.
- After aspirating the coating solution, gently wash the wells two or three times with sterile PBS.
Step 4: Add the cell suspension
- To guarantee a uniform dispersion, gently resuspend the cell suspension.
- Using the plate surface area and your experimental requirements as a guide, determine the ideal number of cells per well.
- Using a sterile pipette, add the proper amount of cell suspension to each well. To distribute the cells equally, gently twirl the plate.
Step 5: Add the culture medium
- Aspirate whatever PBS is still in the wells.
- Carefully pour the entire culture medium into each well, making sure the cells are fully submerged. The plate type and cell density will determine the volume.
Step 6: Incubate the plates
- Arrange the plates in a humidified incubator with the proper CO2 concentration (usually 5%) and temperature (usually 37°C).
- Before starting your experiment, give the cells at least 24 hours to adhere and recover.
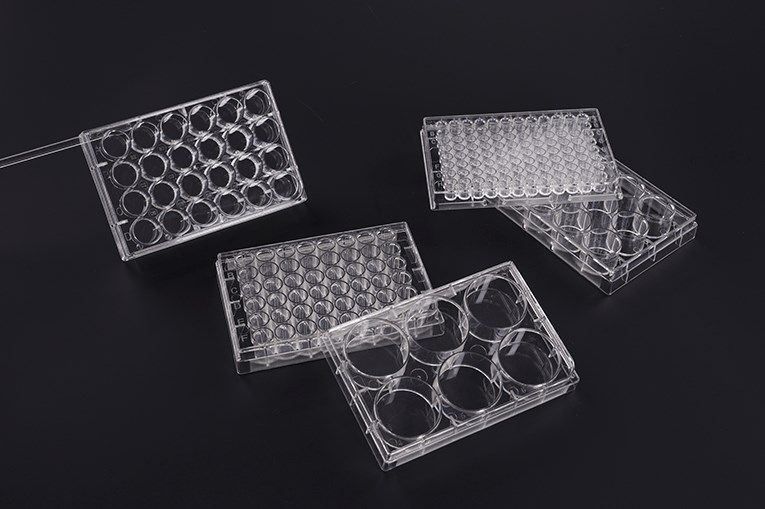
What Are the Factors to Consider When Choosing a Cell Culture Plate?
Choosing the appropriate cell culture plate is essential to the outcome of your research. Your cells will be able to grow and express their intended functions in the right conditions on the perfect plate, producing precise and repeatable results. Here are some key factors to consider when making your choice:
Factors 1: Cell type
Specific requirements for growth area, surface characteristics, and environmental factors apply to different cell types. Select a plate whose surface treatment promotes the adhesion and proliferation of your cells. For instance, whereas some cells need particular ECM components like laminin or fibronectin, others prefer surfaces coated in collagen.
Factors 2: Experiment type
The features and plate format needed for a given assay or technique vary. Think about using multi-well plates, such as 96- or 384-well formats, for high-throughput screening. A larger surface area of 6-well or 12-well plates may be more appropriate for single-cell analysis or microscopy.
Factors 3: Optical properties
Certain experiments use imaging techniques such as microscopy. Select high optical clarity plates to guarantee clear cell visualization. For fluorescence assays, black-walled plates can be helpful, and low-evaporation lids reduce condensation and improve image quality.
Factors 4: Sterility level
There are different levels of sterility for plates: irradiated for a longer shelf life and sterile for immediate use. Based on the length of your experiment and the amount of storage you require, select the right level. Although pre-coated plates may have a shorter shelf life, they can save time during preparation.
Factors 5: Additional features
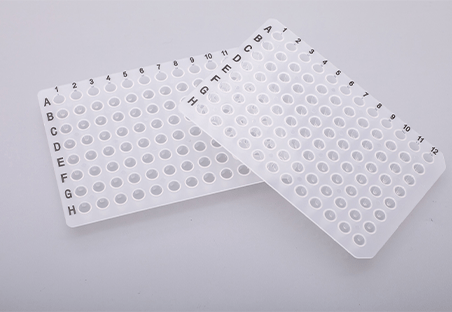
Additional features that some plates have include raised wells for easier pipetting, grippy surfaces for stable handling, and alphanumeric markings for good identification. Think about these features in light of your requirements and preferences.
Factors 6: Cost
Even though price shouldn’t be the main consideration, it’s crucial to select plates that fit into your budget. For often-used plates, think about purchasing in bulk or looking for substitutes from other producers.
Factors 7: Sustainability
To reduce your impact on the environment, use plates made from recyclable or recycled materials whenever possible. Certain manufacturers provide options that are biobased or biodegradable.

How Do You Maintain Sterility in Cell Culture Plates?
To guarantee the viability of your studies and the health of your cells, maintaining sterility in cell culture plates is vital. Your cultures can be severely damaged by a single contaminant, which can result in inaccurate results as well as a waste of time and money. Here’s a comprehensive guide on how to keep your plates sterile:
Before you begin:
- Preparation is key: To cut down on time spent at the bench, prepare your experiment in advance and gather all the materials you’ll need. By doing this, the chance of unnecessarily handling contaminants is decreased.
- Clean and disinfect your workspace: Before beginning any cell culture work, make sure your workspace is completely cleaned using 70% ethanol or another disinfectant. All surfaces that could come into contact with your plates are included in this, including the benchtop and the incubator.
- Wear appropriate personal protective equipment (PPE): Put on safety glasses, a lab coat, and gloves to shield yourself from any possible biohazards.
Aseptic technique:
- Master aseptic technique: A series of steps intended to reduce the possibility of contamination are referred to as the aseptic technique. This entails procedures like working over a Bunsen burner flame when adding reagents to your plates, avoiding touching sterile surfaces with bare hands, and sterilizing pipette tips with burning Bunsen burners.
- Work in a sterile environment: When possible, use a biological safety cabinet (BSC), particularly for crucial procedures like pipetting and cell handling. The sterile airflow produced by the BSC shields your cultures from impurities in the air.
- Use sterile materials: Everything that comes into contact with your cells must be sterile, including tips, pipettes, culture medium, and reagents. When feasible, use pre-sterilized materials; for reusable items, autoclave-sanitize them.
Conclusion
A vital tool for many different types of research applications is cell culture plates. Make sure you choose the appropriate plate for your purpose and prepare it in a sterile environment by giving careful thought to the factors covered in this guide. With this support, your cell culture experiments will turn out as best they can. Chongqing Scope Instrument Co., Ltd. is a professional lab Lab Consumable supplier. We can give you more guides about lab consumables.
