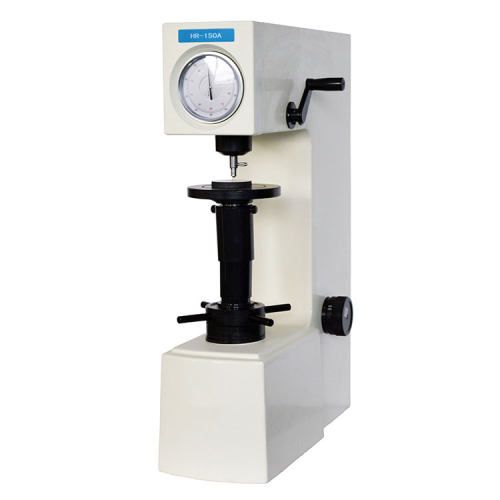
From the unyielding resilience of steel to the malleable suppleness of rubber, hardness paints a crucial picture of a material’s behavior under applied forces. But quantifying this elusive quality requires a toolbox of specialized instruments: hardness testers. This guide can help you navigate the different types of hardness testers and their applications.
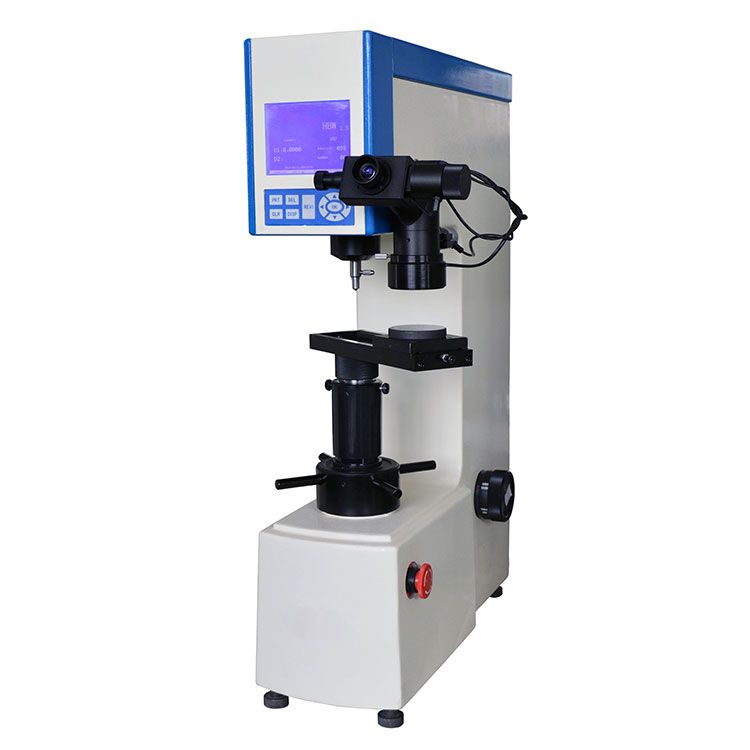
What is the Hardness?
To decipher the hardness of a material, we turn to dedicated scales, each speaking a distinct language.
- The Rockwell scale, a versatile veteran, employs calibrated indenters to measure indentation depth, particularly suited for metals and alloys.
- The Brinell test, wielding a hardened steel ball, leaves a permanent mark, ideal for softer materials and castings.
- For precise evaluations on microscopic scales, the Vickers and Knoop tests utilize diamond pyramids, meticulously measuring the area of indentation across a wide range of materials.
- The Shore scale, known for its portability, utilizes a durometer to assess the elasticity of polymers and rubber.
- The Leeb method, employing rebound principles, delivers quick, non-destructive measurements on diverse materials.
What are the Types of Hardness Testers?
Now, let’s embark on a deeper exploration of three prominent hardness testers:
The Swift and Versatile: Rockwell Hardness Testers
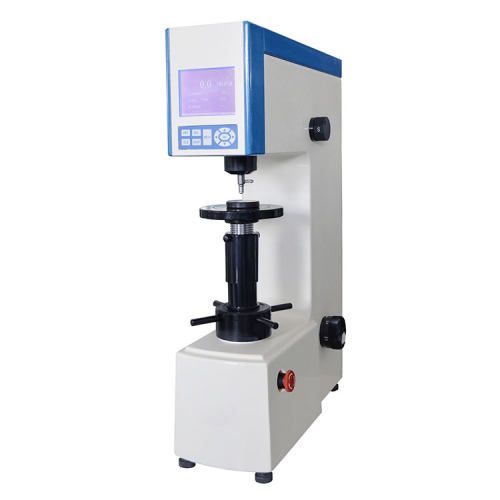
Equipped with interchangeable indenters and various load options, Rockwell testers offer unmatched versatility. Their rapid testing speeds and minimal material disruption make them a favorite for production lines and quality control. However, their shallow indentation depths limit their suitability for extremely hard materials.
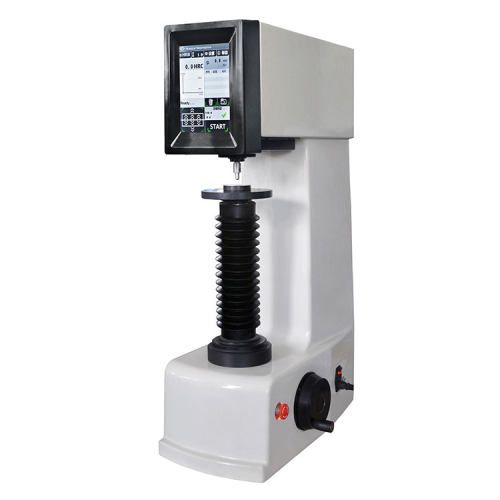
For Harder Materials: Brinell Hardness Testers
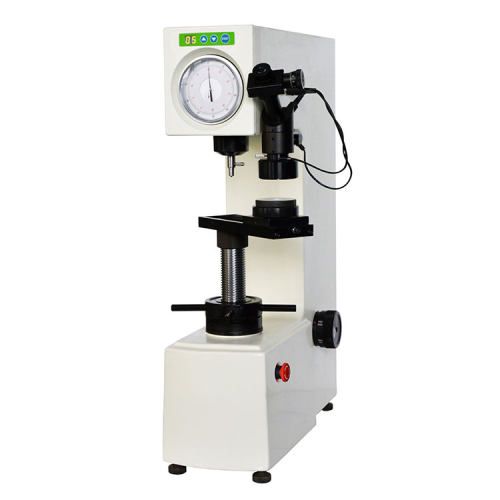
Leaving behind a permanent “footprint,” Brinell testers excel at assessing harder materials and castings. Their large indentations provide robust readings but require careful consideration of surface finish and potential material damage.
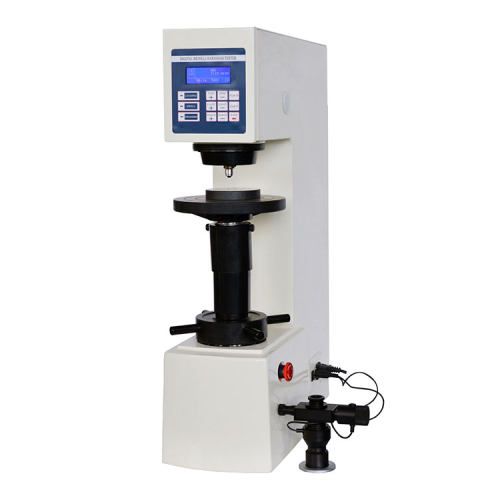
For Microscopic Scale: Vickers Hardness Testers
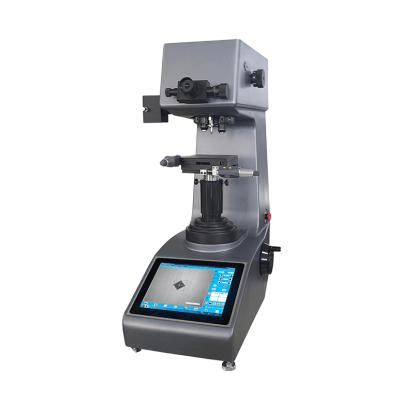
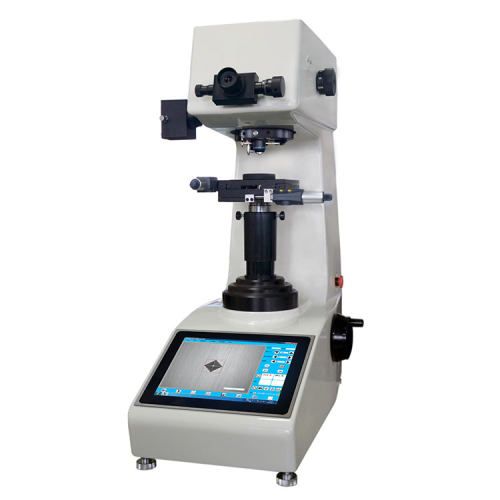
For venturing into the realm of the miniscule, Vickers testers hold the key. Their diamond pyramid indenter leaves precise marks, enabling accurate hardness evaluation on thin samples and delicate surfaces. However, their meticulous nature necessitates carefully controlled testing conditions and skilled operators.
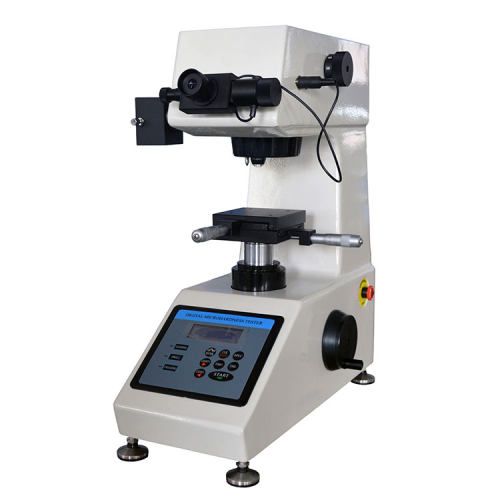
To navigate the maze of hardness testing, a nuanced understanding of each method’s strengths and weaknesses is paramount.
| Tester | Strengths | Weaknesses | Applications |
| Rockwell Hardness Tester | Versatile, fast, minimally destructive | Shallow depth, limited for very hard materials | Metals, alloys, production lines, quality control |
| BrinellHardness Tester | Robust readings, suitable for hard materials | Large indentations, potential material damage | Castings, harder materials, surface roughness studies |
| Vickers Hardness Tester | Precise, ideal for small samples, diverse materials | Slower, requires skilled operators, controlled conditions | Microscopic evaluations, thin samples, diverse materials |
How to Choose the Appropriate Hardness Tester?
1. Identify Your Testing Needs:
- Materials: Clearly define the materials you’ll be testing, as different testers are suited for specific material types (e.g., metals, plastics, ceramics).
- Hardness Range: Determine the expected hardness range of your materials, as testers vary in their measurement capabilities.
- Testing Standards: Adhere to any industry-specific standards or regulations that mandate particular testing methods or scales.
- Accuracy Requirements: Assess the level of accuracy needed for your applications, as testers offer varying degrees of precision.
2. Consider Key Tester Characteristics:
- Test Method: Choose the appropriate method based on your materials and needs: Rockwell, Brinell, Vickers, Knoop, Shore, or Leeb.
- Load Capacity: Ensure the tester can apply the necessary load for your materials, as harder materials require higher loads.
- Indenter Type: Select the appropriate indenter shape (e.g., ball, pyramid, cone) based on the desired sensitivity and test requirements.
- Portability: Decide if you need a portable tester for on-site testing or a benchtop model for laboratory settings.
- Data Outputs: Verify that the tester provides the necessary data outputs (e.g., hardness values, statistics, graphs) for your analysis needs.
- Consider Cost and Budget: Balance cost with accuracy, features, and long-term value to make a cost-effective choice.
3. Evaluate Additional Features:
- Automation: Consider automated features for efficiency and consistency, especially for high-volume testing.
- Software: Assess the availability of software for data management, analysis, and reporting.
- Calibration: Ensure the tester has easy calibration procedures to maintain accuracy.
Conclusion
With a plethora of hardness testers at your disposal, the choice can be daunting. But remember, the ideal instrument is a harmonious marriage of material type, test objectives, and budget considerations. Hope this guide has given you an idea of the diverse capabilities of these remarkable tools, empowering you to confidently embark on your hardness testing journey. And when the time comes to make your selection, seek out a trusted hardness tester supplier. An experienced partner can decipher your specific needs, recommend the optimal equipment, and provide invaluable support throughout your testing endeavors.
