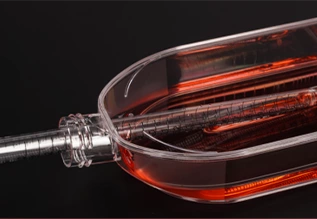
Cell culture flasks are laboratory containers designed to grow and maintain populations of living cells outside of an organism. They are essentially small, controlled environments that mimic the conditions found inside a living body, allowing researchers to study cells in-depth and conduct various experiments. This comprehensive guide will provide you with an understanding of cell culture flasks. Discover the most important factors to consider, such as cell type and surface area, as well as material and ventilation, to ensure that your chosen flask provides the best environment for your experiment. Learn how to use autoclaving, chemical disinfection, and dry heat sterilization to keep your cells safe from contaminants. Develop expert handling skills, from aseptic technique to proper storage and disposal, to ensure the safety of your cells and the success of your research.
How Do I Choose the Right Cell Culture Flask for My Experiment?
Choosing the appropriate cell culture flask is critical to the success of your experiment. The flask provides the environment in which your cells will grow, attach, and maintain their overall health. Here’s a comprehensive guide to help you make the best decision:
1. Consider Your Cell Type
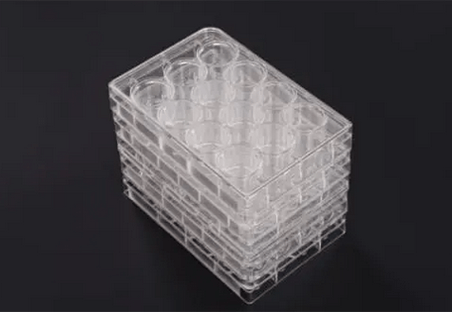
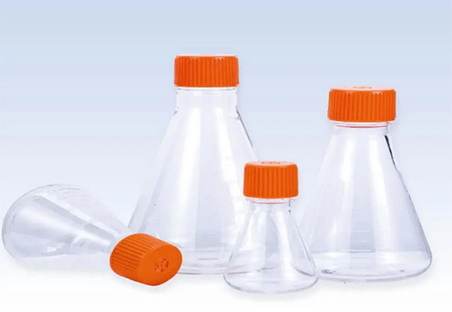
- Adherent vs. Suspension cells: Adherent cells require more surface area to attach and grow, whereas suspension cells require more volume to move. Select flasks with larger growth surfaces (T-flasks, multi-well plates) for adherent cells and larger volume flasks (spinner flasks, Erlenmeyer flasks) for suspension cells.
- Specific needs of your cell line: Some cell lines require specific surface coatings (e.g., collagen, fibronectin) and oxygen permeability. Choose flasks with appropriate coatings or ventilation options (vented vs. non-vented) to meet these requirements.
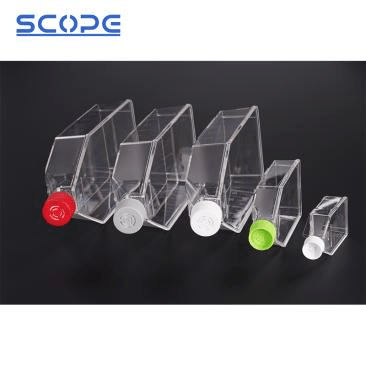
2. Determine the Required Volume and Surface Area:
- Number of cells: Determine the number of cells to culture and select a flask with enough volume to accommodate them comfortably. Overcrowding can stress cells and impede growth.
- Experiment duration: For longer experiments, use larger flasks to accommodate cell expansion and media changes without stressing them.
- Surface area needs: Adherent cells require an adequate surface area for attachment and proliferation. Flasks with larger growth surfaces (e.g., larger flasks, multi-well plates with more wells) offer more room for cell attachment.
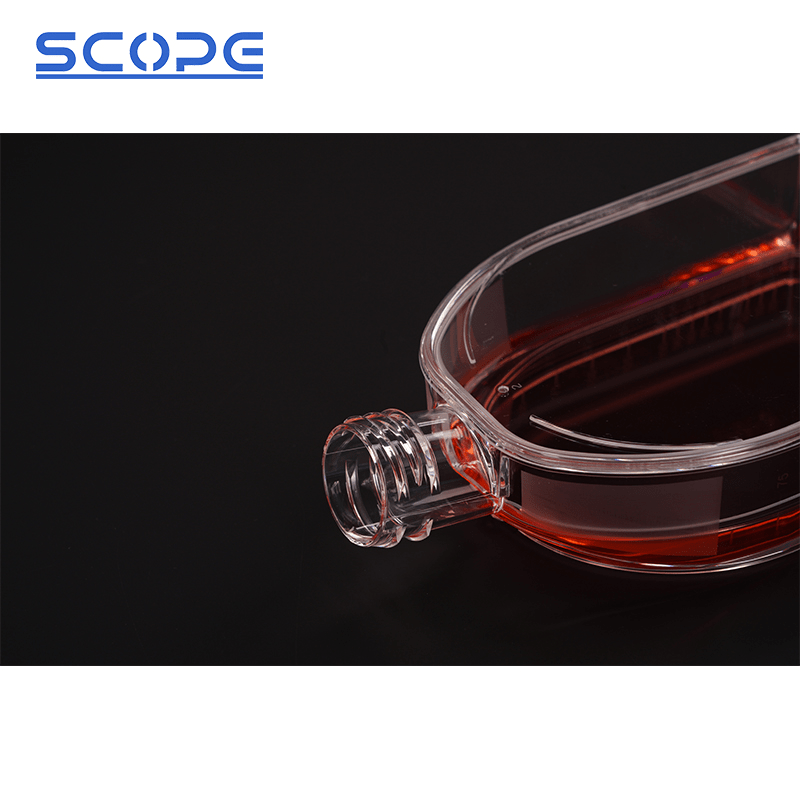
3. Select the Right Material
- Polystyrene (PS): Economical and widely used, but may leach chemicals and absorb proteins with time. Ideal for short-term cultures and non-critical experiments.
- Polypropylene (PP): More chemically inert than PS, which reduces leaching and protein absorption. Ideal for longer cultures and sensitive cell lines.
- Glass: Although most are inert and reusable, they are fragile and expensive. Suitable for long-term cultures, sensitive cells, and microscopy.
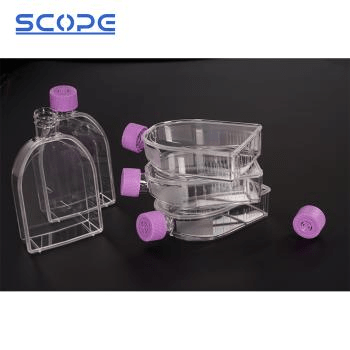
4. Consider Additional Features
- Vented vs. non-vented: Vented flasks allow gas exchange (O2 in, CO2 out), which is essential for cell survival. Non-vented flasks are ideal for anaerobic cultures and short experiments.
- Coated flasks: Some flasks are pre-coated with extracellular matrix proteins (such as collagen and fibronectin) to promote cell attachment for specific cell types.
- Sterile vs. non-sterile: Select sterile flasks for aseptic procedures and immediate cell culture. Non-sterile flasks must be autoclaved before use.
How Do I Sterilize a Cell Culture Flask?
Sterilization is critical in cell culture because it provides a clean and contaminant-free environment for your valuable cells. Here’s a comprehensive guide to effectively sterilizing cell culture flasks:
Methods for Sterilization
Method 1: Autoclaving
This is the most common and reliable way to sterilize flasks.
- Prepare: Fill flasks with enough water to prevent collapsing during the process (approximately 1/3 full). Loosen the caps without completely removing them to allow steam to penetrate.
- Autoclave: Place flasks in a water-filled autoclave and run a sterilization cycle at 121°C and 15 psi for 15-20 minutes. For more specific instructions and timings, consult your autoclave manual.
- Cool down: Allow the flasks to completely cool inside the autoclave before removing them. Rapid cooling may cause flask breakage.
Method 2: Chemical Sterilization
This method uses a disinfectant solution, such as 70% ethanol or ethanol/water mixtures. Although faster than autoclaving, it may not be appropriate for all materials or applications.
- Prepare: Fill flasks with disinfectant solution and leave for the recommended time (10-20 minutes). Ensure that all surfaces are completely immersed.
- Rinse: Rinse flasks with sterile water several times to remove any disinfectant residue.
- Dry: Before using flasks, air dry them completely in a sterile environment.
Method 3: Dry Heat Sterilization
This method sterilizes flasks by heating them to high temperatures in an oven. It is primarily used for glass and heat-resistant materials.
- Wrap: Wrap individual flasks in aluminum foil to ensure even heat distribution.
- Heat: Place the flasks in an oven preheated to 250–260°C for at least 2 hours. For more specific instructions and timings, consult your oven’s manual.
- Cool down: Allow flasks to cool slowly in the oven overnight to avoid cracking.
Additional Tips
- Wear proper personal protective equipment (PPE): To avoid burns and chemical exposure, you should wear gloves, a lab coat, and eye protection.
- Use sterile water and solutions: Check that all water and solutions used for rinsing or preparation are sterile and suitable for cell culture.
- Handle flasks aseptically: To avoid contamination, do not touch the inner surfaces of flasks or caps with your bare hands. Use sterile forceps or gloves.
- Dispose of waste properly: Discard used disinfectants and contaminated materials by your institution’s waste disposal policies.
Choosing the Right Method
- Autoclaving: Suitable for most flasks and materials, with excellent reliability and effectiveness.
- Chemical sterilization: Faster than autoclaving, but not appropriate for all materials or applications. Check compatibility with your flasks and cell lines.
- Dry heat sterilization: Especially for glassware and heat-resistant materials. Plastic flasks are not recommended due to the risk of melting or warping.
How Do I Properly Handle and Store Cell Culture Flasks?
Cell culture flasks are the vessels that hold your valuable cells, so proper handling and storage are critical for their survival and the success of your experiments. Here’s a detailed guide for treating your flasks with the care they deserve:
Handling
- Aseptic Technique: Always use an aseptic technique when handling flasks to avoid contamination. Wear gloves, a lab coat, and protective eyewear. Use sterile forceps or techniques to avoid touching the inner surfaces of flasks or caps with your bare hands.
- Filling and Media Changes: Fill flasks with the appropriate media volume for their size and cell requirements. Avoid overfilling, as this can impede gas exchange. To reduce the risk of contamination, change media aseptically under a laminar flow hood.
- Labeling: Clearly label each flask with the cell line, passage number, date, and any other pertinent experiment information. This ensures accurate identification and tracking.
- Stacking and Storage: Avoid stacking flasks directly on top of one another, as this can reduce airflow and gas exchange. Use designated flask racks or holders to ensure proper organization and ventilation.
Storage
- Temperature: Flasks should be stored at the temperature recommended for your cell line, which is typically 37°C for mammalian cells. To ensure consistency, use incubators with temperature control and alarm systems.
- Gas Atmosphere: Ensure that the incubator maintains the proper gas atmosphere (5% CO2 for most mammalian cells) for optimal cell growth and survival.
- Humidity: Maintain proper humidity levels in the incubator (usually around 95%) to avoid excessive media evaporation and cell stress.
- Light Exposure: Reduce light exposure in flasks, particularly for light-sensitive cell lines. Flasks should be stored in the dark or covered to protect them from light.
- Long-Term Storage: For long-term storage, cells can be cryopreserved in specialized freezing media or liquid nitrogen tanks. This preserves cell viability for future applications.
Conclusion
We need to understand how to select, sterilize, and handle cell culture flasks because they are the critical environment for our valuable cells. Choosing the right flask ensures that the cells have enough space, surface area, and materials to grow. Sterilization removes contaminants that could harm or kill cells. Proper handling reduces stress while maintaining aseptic conditions, preventing contamination, and promoting healthy growth. Mastering these skills allows for successful and reproducible cell culture experiments, which contributes to valuable research in fields such as medicine, biology, and drug development. Scopelab provides a variety of cell culture consumables to support your experiments