Cell culture is a cornerstone of biological research, enabling scientists to study cells in a controlled environment. Microscope plays a crucial role in visualizing and analyzing these cells, providing insights into their morphology, behavior, and interactions. Inverted microscopes have become indispensable tools for cell culture imaging due to their unique design, which allows for observation of cells through the bottom of the culture vessel. This configuration is particularly advantageous for live cell imaging and high-resolution imaging of adherent cells. This article provides practical tips for maximizing the effectiveness of inverted microscope in cell culture, covering from setup and sample preparation to image acquisition, analysis, and troubleshooting.
Understanding Inverted Microscopes for Cell Culture
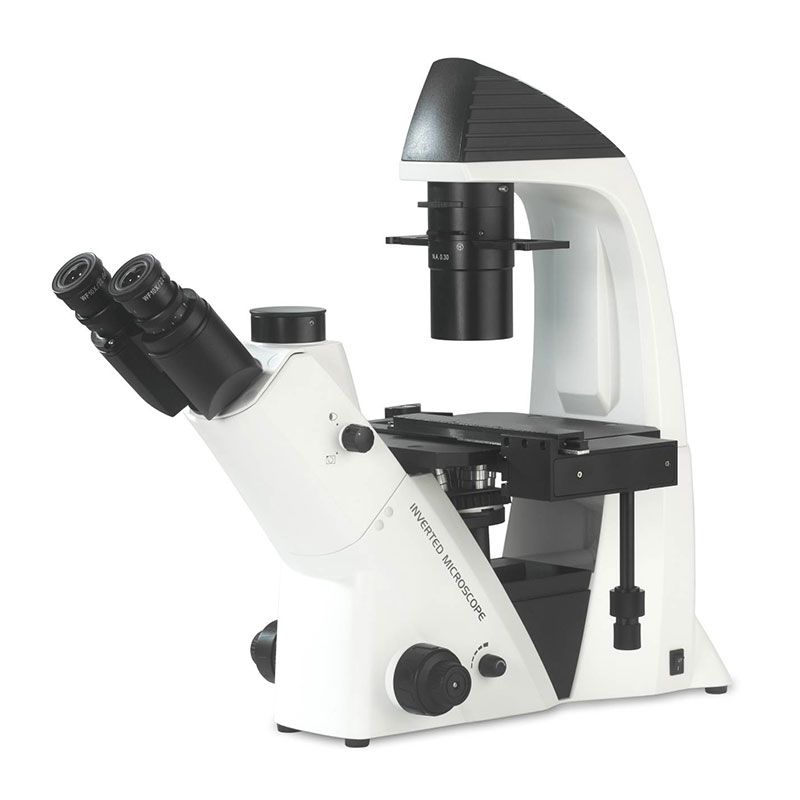
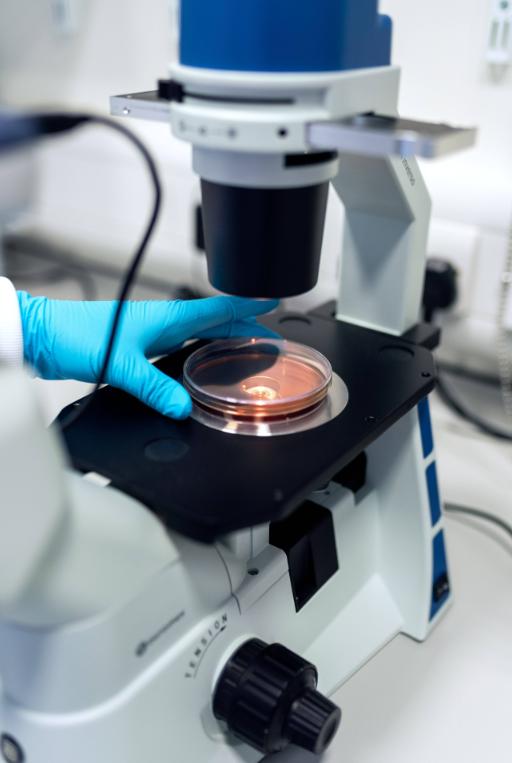
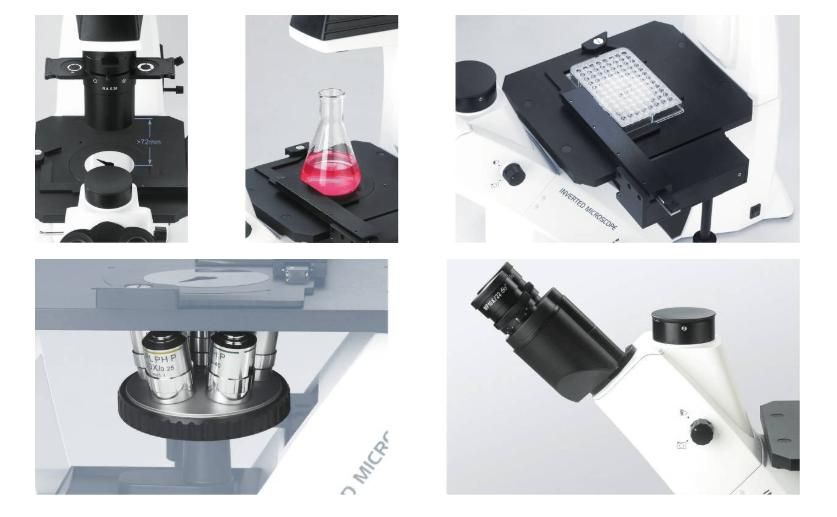
Inverted microscopes are specifically designed to observe cells in their natural growth environment without disturbing the culture. Their configuration places the objective lens below the sample stage and the light source above, making them well-suited for imaging cells in culture vessels with transparent bottoms.
Key features of inverted microscopes for cell culture include:
- Wide compatibility with vessels: Ideal for imaging in flasks, dishes, and well plates.
- Enhanced optical techniques: Support for phase contrast, fluorescence, and differential interference contrast (DIC) to visualize transparent cells.
- Live-cell imaging capabilities: Often equipped with environmental control chambers to maintain temperature, CO₂, and humidity.
These features enable researchers to capture high-resolution, real-time images of cell morphology, proliferation, and behavior, essential for advancing studies in drug development, cancer research, and stem cell biology.
Preparing for Imaging
A series of preparations are required before cell culture imaging:
Setting Up Your Inverted Microscope for Cell Culture
Setting up your inverted microscope correctly is the first step towards successful cell culture imaging, including:
Calibrating the optical system: Ensure objectives are aligned and parfocal.
Selecting the appropriate objective lens for your experiment: Lower magnification objectives are suitable for overview images of the culture, while higher magnification objectives are needed for detailed visualization of individual cells. For live-cell imaging, long-working-distance objectives with low magnification (10× to 40×) are ideal. Numerical aperture (NA) is another critical factor. A higher NA allows for greater light gathering and better resolution, but it also reduces the working distance. For example, a 40x objective with a high NA will provide better resolution than a 40x objective with a lower NA, but it will be closer to the sample.
Adjusting the light source: Use phase contrast or low-intensity fluorescence to avoid phototoxicity. Köhler illumination, a technique for optimizing the light path, should be properly set up to ensure even illumination across the field of view. This involves adjusting the field and aperture diaphragms.
Stage selection: The stage should be appropriate for the type of culture vessel you are using. Motorized stages are useful for multi-well plates and time-lapse imaging, allowing for precise and automated movement between different locations.
Testing environmental controls: Verify that the temperature and CO₂ levels match the cell culture requirements if using a controlled chamber.
Preparing the Cell Culture Samples
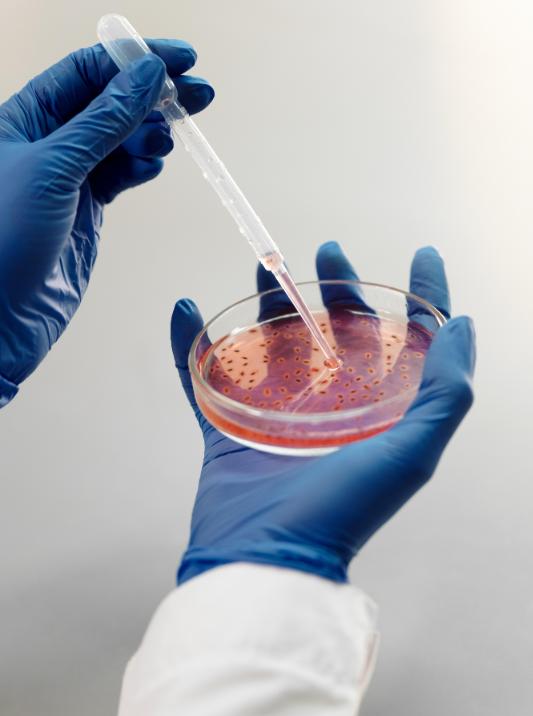
Preparing cells for imaging is equally important. Follow these steps:
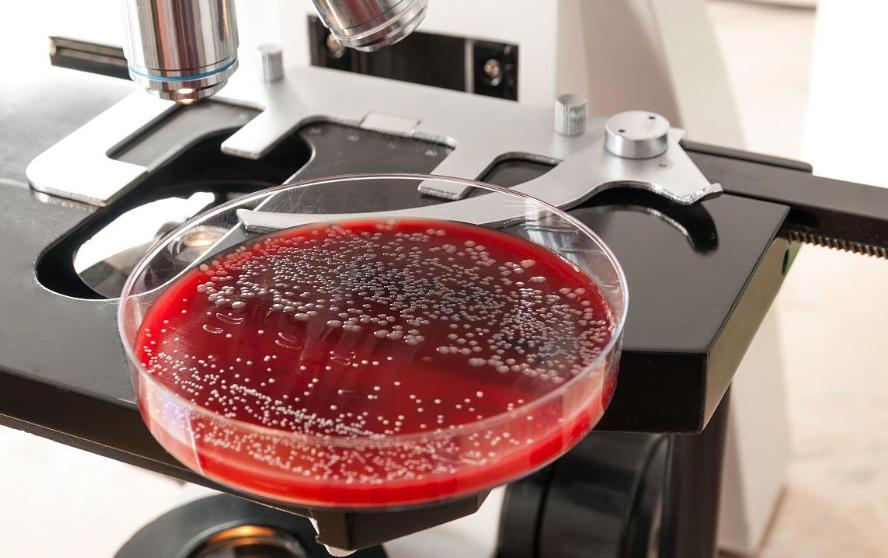
- Maintain optimal conditions: Cells should be cultured under optimal conditions to ensure their health and viability. For live cell imaging, it is essential to maintain the appropriate temperature, CO2 levels, and humidity using a stage incubator or environmental control system.
- Use transparent-bottom vessels: Glass-bottom dishes or well plates are often preferred for high-resolution imaging, as they minimize background fluorescence and provide better optical clarity. For certain experiments, specialized culture vessels may be necessary, such as microfluidic devices or chambers designed for specific imaging modalities.
- Maintain sterile conditions: Handle samples in a sterile environment to avoid contamination.
- Optimize cell density: Plate cells at a density that prevents overcrowding while ensuring adequate cell visibility.
- Minimize external light exposure: Fluorescently labeled cells should be protected from light to prevent bleaching.
- Imaging system compatibility: If using fluorescent dyes or proteins, ensure they are compatible with your imaging system and that the labeling procedure is optimized for minimal toxicity.
Proper sample preparation ensures reproducible and reliable imaging results, laying the foundation for meaningful data acquisition.
Image Acquisition and Analysis
Once your inverted microscope is properly set up and your cell culture samples are prepared, the next crucial step is acquiring high-quality images and extracting meaningful data. This involves careful consideration of camera settings, lighting, and focus, as well as the application of appropriate image processing and analysis techniques.
Adjusting lighting and focus:
Achieving optimal focus is critical for capturing clear images. Start by using the coarse focus knob to bring the sample into the general vicinity of the objective lens, then use the fine focus knob to achieve sharp focus. For thick samples or when imaging deep within the culture vessel, it may be necessary to adjust the focus plane carefully. When adjusting the lighting, aim for even illumination across the field of view. Avoid overexposing the sample, as this can lead to photobleaching and cell damage. Start with lower light intensities and gradually increase until you achieve a good signal-to-noise ratio.
Tips for fluorescence imaging:
Fluorescence microscopy is a powerful technique for visualizing specific cellular components. When performing fluorescence imaging, select the appropriate filters for your fluorophores. Excitation filters allow only light of the specific wavelength that excites the fluorophore to reach the sample, while emission filters allow only the emitted light from the fluorophore to reach the detector. Minimize exposure time to reduce photobleaching. Use appropriate controls, such as samples without fluorescent labels, to account for background fluorescence.
Image processing:
Image processing techniques can enhance image quality and extract more information from your data. Background subtraction can remove unwanted background signal, while deconvolution can improve image resolution by removing out-of-focus light. ImageJ and other software packages offer a wide range of image processing tools. Be cautious when processing images, and avoid manipulations that could misrepresent the data.
Data analysis:
Once images are acquired, appropriate data analysis is essential to extract meaningful information. This may involve manual measurements, automated cell counting, or more complex analyses, such as tracking cell movement or measuring fluorescence intensity. Several software packages are available for image analysis, including ImageJ, CellProfiler, and Metamorph. Choose the software that is best suited for your specific needs and ensure that you understand the principles behind the analysis methods you are using.
The image acquisition and analysis phase is where the rubber meets the road in cell culture microscopy. All the careful preparation and setup come to fruition as you capture the visual data that will ultimately drive your research. By paying close attention to factors like lighting, focus, camera settings, and image processing, you can ensure that your images are not only visually appealing but also scientifically sound. Remember that the goal is to capture data that accurately represents the biological reality of your cell culture.
Common Challenges and How to Overcome Them
Imaging cell cultures with an inverted microscope can present various challenges. Below are common issues and practical solutions to address them:
Challenge 1: Blurry or Unclear Images
Blurry images can result from improper focus, misaligned optical components, or dirty lenses.
Solution:
- Always ensure that the microscope is properly focused by fine-tuning the focus knob gradually.
- Clean objective lenses and other optical components regularly using lens paper and approved cleaning solutions.
- Check for alignment issues in the optical path, including the condenser and objectives.
- Reduce vibrations by stabilizing the microscope on a sturdy surface.
Challenge 2: Photobleaching During Fluorescence Imaging
Fluorophores may lose brightness after prolonged exposure to light, compromising image quality.
Solution:
- Minimize exposure to intense light by using shutters or neutral density filters.
- Use antifade reagents to preserve fluorescence signals.
- Limit imaging sessions to necessary durations and optimize excitation light intensity.
Challenge 3: Condensation on Culture Vessels
Condensation can occur when temperature fluctuations affect the imaging chamber, obscuring the view.
Solution:
- Pre-warm culture vessels to match the environmental chamber temperature.
- Use a humidity-controlled chamber to prevent condensation buildup.
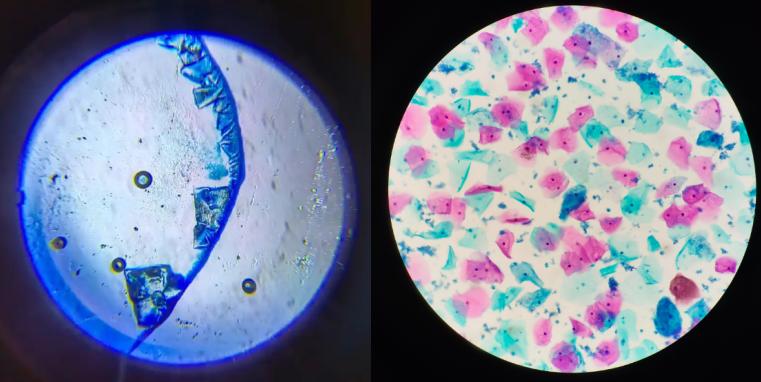
Challenge 4: Low Contrast in Unstained Cells
Transparent cells can be difficult to distinguish without staining.
Solution:
- Employ phase contrast or differential interference contrast (DIC) imaging modes to enhance visibility without the need for staining.
- Adjust the condenser and diaphragm settings for optimal contrast.
Challenge 5: Software and Hardware Issues
Imaging software may lag, or hardware components like cameras may fail to function correctly.
Solution:
- Ensure that all software and firmware are up to date.
- Check connections between the camera, computer, and microscope.
- Contact technical support or refer to the manufacturer’s guide for troubleshooting persistent issues.
By proactively addressing these challenges, researchers can maintain consistent image quality and avoid disruptions in their experiments.
Maintenance and Care of Inverted Microscopes
Regular maintenance and care are essential for keeping your inverted microscope in optimal working condition. Please follow the tips below:
Daily Maintenance
- Clean Lenses: Use lens paper and a recommended cleaning solution to remove dust and smudges from objective lenses and eyepieces.
- Inspect the Stage: Wipe down the stage and sample holder to remove any spilled media or debris.
- Check Light Sources: Ensure that the light source is functioning correctly and adjust intensity as needed.
- Cover the Microscope: Use a dust cover when the microscope is not in use to prevent dust accumulation.
Monthly Maintenance
- Inspect Mechanical Components: Verify smooth movement of the stage, focus knobs, and objective turret.
- Clean Filters and Condenser: Remove and clean filters and the condenser lens to maintain optimal light quality.
- Check Connections: Ensure that all cables, cameras, and external devices are securely connected and functioning.
Annual Calibration
- Optical Alignment: Have a qualified technician align the optical path to ensure accurate imaging.
- Mechanical Inspection: Service mechanical parts, such as focus drives and stage movement mechanisms, to ensure longevity.
- Update Software and Firmware: Install the latest updates for imaging software and microscope firmware to benefit from new features and fixes.
- Replace Aging Components: Assess the condition of bulbs, filters, and other consumables; replace as needed.
By following these daily, monthly, and annual maintenance practices, you can ensure your inverted microscope remains in excellent condition, providing reliable and high-quality imaging.
Inverted microscopes are invaluable for cell culture imaging, offering the precision and versatility needed for advanced research. By understanding their unique features, properly preparing samples, and optimizing imaging techniques, researchers can achieve superior results. Addressing common challenges and maintaining the instrument ensures consistent performance and longevity. Armed with these tips, you are well-equipped to maximize the potential of your inverted microscope and elevate your cell culture studies to new heights.