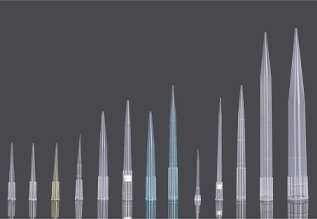
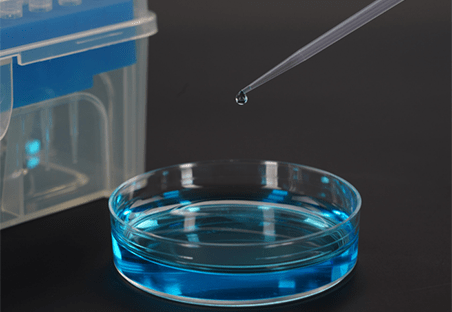
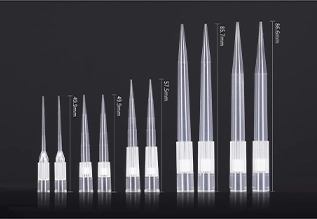
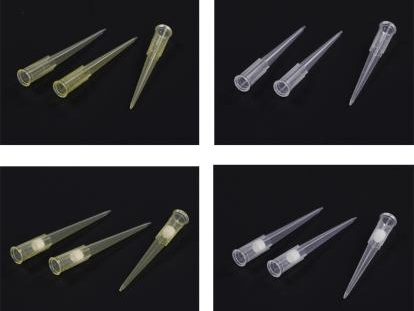
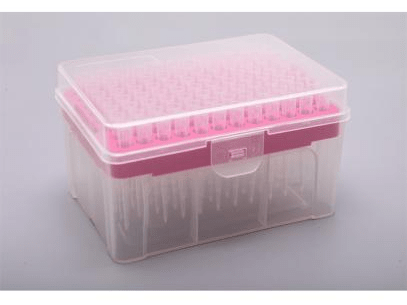
To transfer tiny amounts of liquid, micropipettes are equipped with disposable plastic tips called pipette tips. In a range of laboratory settings, including research labs, clinical labs, and industrial settings, micropipettes are employed. Pipette tips need to be cleaned and maintained. Pipette tips may come into contact with various chemicals, including pathogens like bacteria and viruses. Inaccurate results or even contamination might arise from improper pipette tip cleaning since these contaminants can spread to the next sample. Acids and organic solvents are two examples of chemicals that might harm pipette tips. Proper pipette tip cleaning can aid in removing these impurities and increase the useful life of the pipette tips.
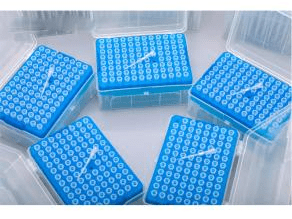
2 Ways of Cleaning Pipette Tips
1. Routine Cleaning
- Eject and Discard
After each use, immediately eject the tip and dispose of it properly in a designated container. Ejecting and discarding tips after each use is a quick and simple procedure that minimizes disruption to your workflow. Discarding tips eliminates the need to clean and reuse them, saving time and effort over washing or autoclaving used tips. Reusing pipette tips is a significant source of cross-contamination in the laboratory. Each tip comes into contact with a specific sample, and reusing it can transfer the components of the previous sample to the next, resulting in inaccurate results and potentially compromised experiments. Even small amounts of liquid remaining in a tip can affect the volume dispensed in the next experiment, resulting in inaccurate measurements. Certain liquids and samples can degrade the plastic of pipette tips over time, affecting how they fit and seal to the pipette shaft. Discarding used tips reduces the possibility of incorrect pipetting due to degraded tips.
- Wipe Down the Ejector
To clean the tip ejector and surrounding area, wipe with 70% ethanol. The tip ejector makes direct contact with used tips, which can contain a variety of contaminants such as leftover liquid, cells, and biological material. Wiping it down regularly with 70% ethanol helps to remove these contaminants, preventing them from transferring to clean tips or other pipette parts. This reduces the likelihood of cross-contamination between samples, safeguarding both your experiments and your health.
- Clean the Exterior
Wipe the entire pipette body with a 70% ethanol wipe. Pay special attention to grime-prone areas such as buttons, dials, and the handrest. While cleaning the exterior does not involve cleaning the pipette tips themselves, it is still considered routine cleaning. Pipettes are used with a variety of samples, some of which may be infectious or hazardous. Even if the tips are clean, contaminants can cling to the pipette’s exterior and potentially transfer to subsequent tips. Dust, dirt, and residue buildup on the pipette’s exterior can disrupt its smooth operation and reduce dispensing accuracy. Regular cleaning ensures that the buttons, dials, and other mechanisms work properly, resulting in reliable pipetting.
2. Weekly Cleaning
- Disassemble the Tip Ejector
Specific instructions for disassembling the ejector can be found in your pipette manual. Typically, this involves unscrewing a cap or unlocking a latch. The tip ejector mechanism contains numerous nooks and crannies where residual liquid, dust, and contaminants can accumulate over time. Disassembling allows you to thoroughly clean these areas, which is impossible with wipes alone. Regular use can cause a buildup of organic matter or dried liquid inside the ejector, potentially impairing its performance. Disassembly and soaking in a cleaning solution effectively removes this buildup.
- Soak the Parts
Immerse the disassembled ejector components in a 1% bleach solution for 15 minutes. This disinfects the parts while also removing any organic matter or residue that has accumulated. While daily wiping removes surface contamination, soaking penetrates deeper, removing stubborn residue and organic matter that adheres to the tip ejector’s intricate parts. This ensures thorough disinfection and prevents buildup, which could impede proper tip ejection or harbor bacteria. Soaking is a relatively hands-off cleaning technique. Once immersed in the solution, allow the parts to soak while you attend to other tasks. This saves time and effort over scrubbing each part individually.
- Rinse and Dry
Rinse the parts thoroughly with distilled water and let them dry completely before reassembling. Ensure that no water droplets remain trapped in crevices. While daily wiping removes basic residue, weekly rinsing with distilled water ensures that no salts, minerals, or organic matter remain on the tips. These residues can disrupt sample binding, reducing assay accuracy or even contaminating your experiments. Standing water encourages bacterial growth, even on clean surfaces. Because distilled water leaves no residue, complete drying aids in the prevention of bacteria colonizing the tips and potentially contaminating future samples.

What Are the Common Mistakes to Avoid When Cleaning and Maintaining Pipette Tips?
Here are some common mistakes to avoid when cleaning and maintaining pipette tips:
Use Harmful Chemicals
Certain chemicals, such as strong acids or bases, can corrode or degrade the plastic in pipette tips, causing them to lose shape or become brittle. This can cause inaccurate pipetting, leaks, and even breakage, potentially contaminating your samples and the environment. Not every chemical is effective at cleaning pipette tips. Some may leave residues or are not properly disinfected, resulting in contamination and incorrect results. There are often safer and equally effective cleaning methods available, such as soaking in a 1% bleach solution or using pipette cleaning products designed for the purpose. These are typically less harmful and more efficient.
The Pipette Tip is Overfilled With a Detergent Solution
Overfilling tips wastes more detergent than is required, raising unnecessary costs and potentially causing environmental waste. Excess detergent solution may drip down the tip and onto the pipette shaft or body, posing a contamination risk. This may be transferred to samples during subsequent pipetting, jeopardizing your experiments. Overfilling makes it difficult to properly seat the tip on the pipette, potentially resulting in leakage or an incomplete seal. This can reduce pipetting accuracy and possibly damage the pipette tip or ejector mechanism.
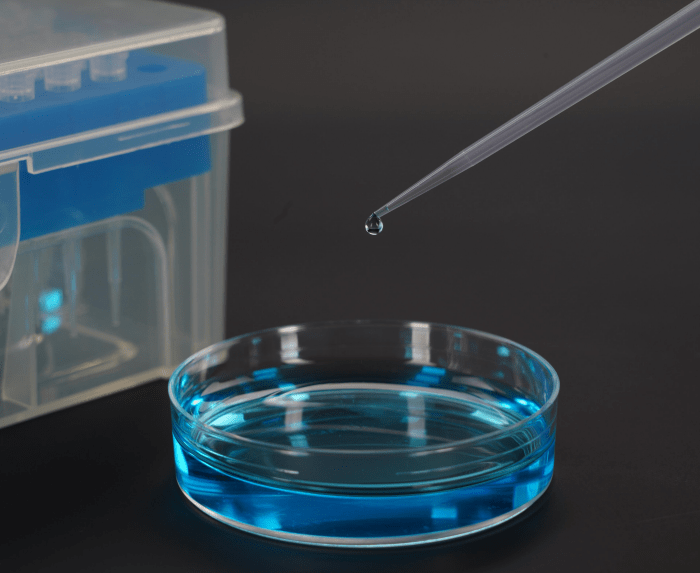
Put the Pipette Tip in the Sun to Dry
Pipette tips can be damaged by direct sunlight. Instead, allow the pipette tips to air dry in a cool, dry environment. Exposure to direct sunlight can significantly heat the tips’ plastic, particularly in warmer climates. This heat can warp or even melt the tips, compromising their fit and possibly affecting pipette performance. Damaged tips can cause inaccurate dispensing and contamination risks. Sunlight emits ultraviolet (UV) radiation, which can degrade polymers in the tips over time. This makes them brittle and prone to cracking, which could result in fragments falling into your samples or even breaking the tip during pipetting. Leaving your tips out in the open exposes them to dust, pollen, and insects. These contaminants can easily settle into the tip and enter your samples, jeopardizing their integrity and possibly introducing unwanted biological material.
Avoiding these common errors can help to ensure that your pipette tips are clean, well-maintained, and long-lasting. This reduces the likelihood of cross-contamination and improves the accuracy and precision of your pipetting results.
Conclusion
Any laboratory must have pipette tips, and it is crucial to clean and maintain them correctly to achieve accurate findings. There are modest variations in the cleaning and maintenance procedures for each type of pipette tip. Chongqing Scope Instrument Co., Ltd. is a professional supplier of pipette tips. By using the advice in this article or contacting us, you may help your pipette tips last longer and reduce cross-contamination.
