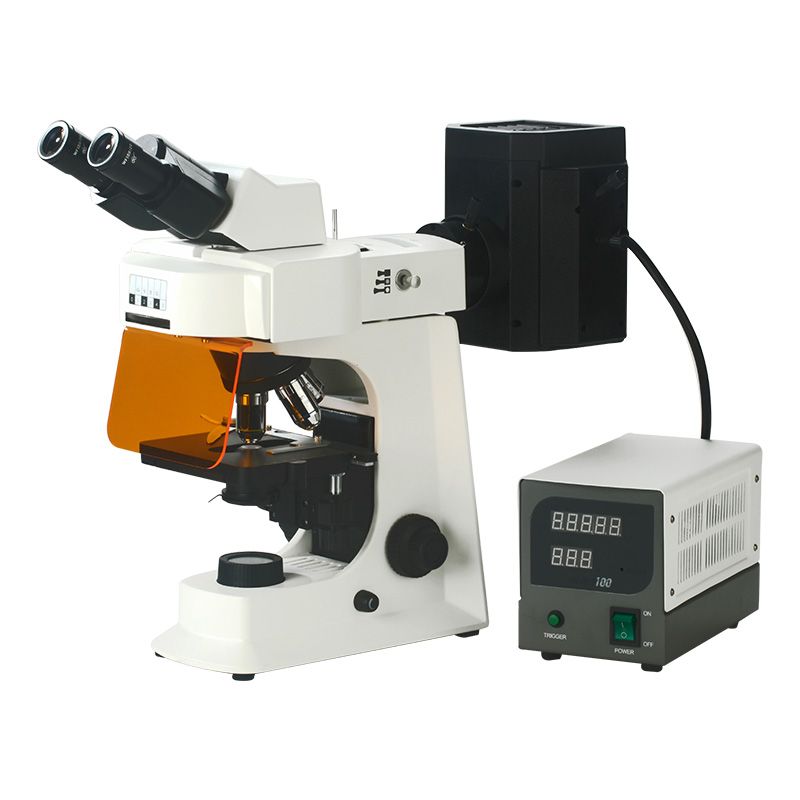
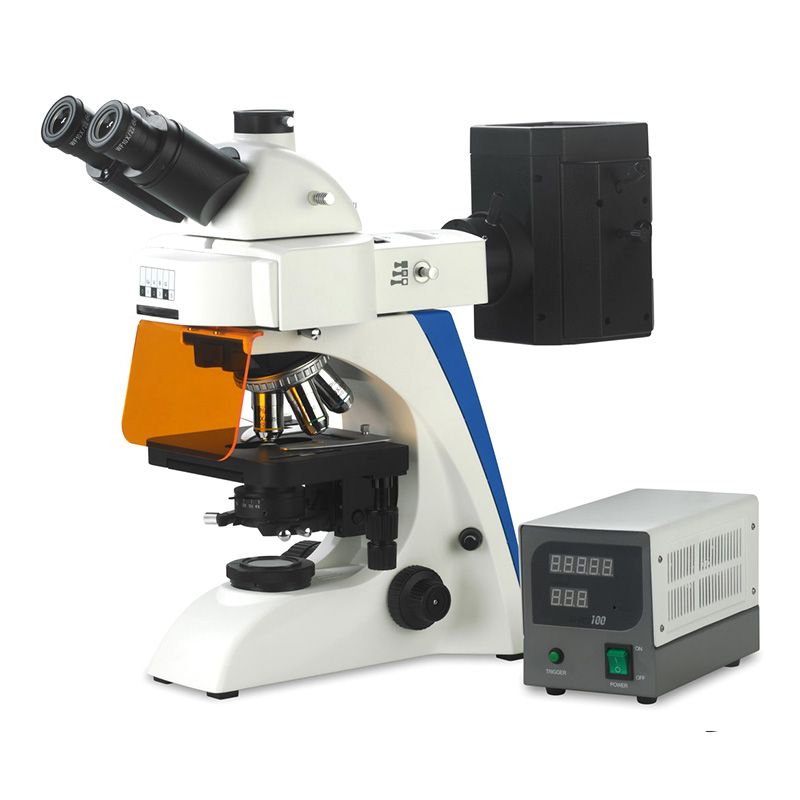
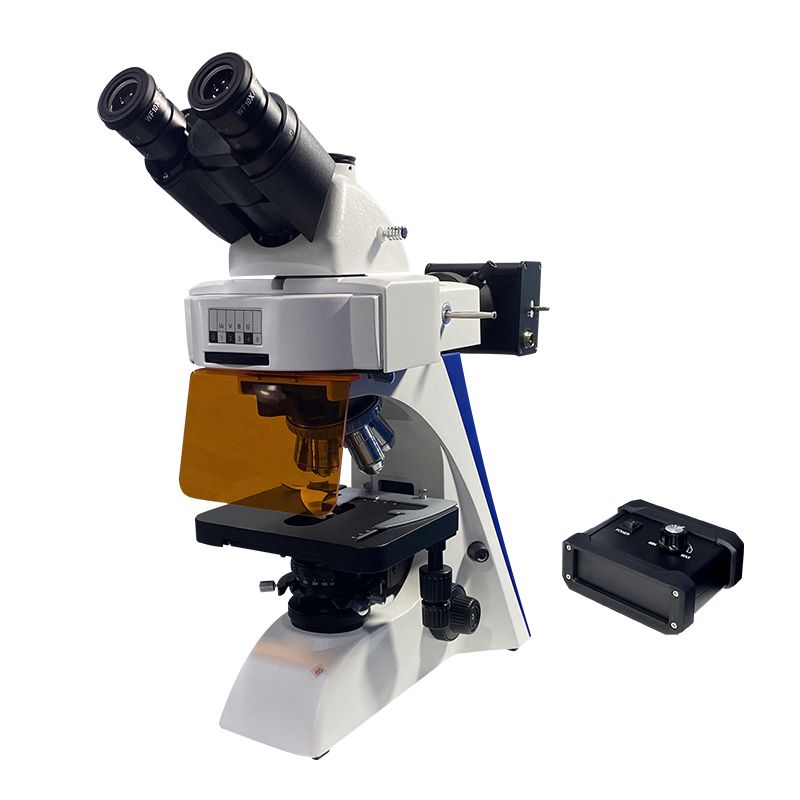
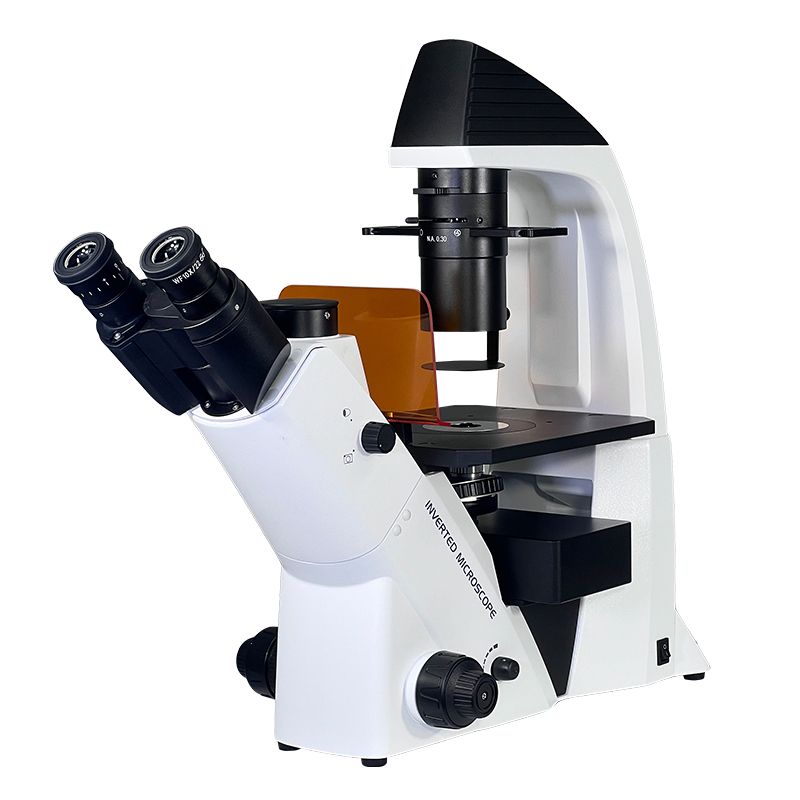
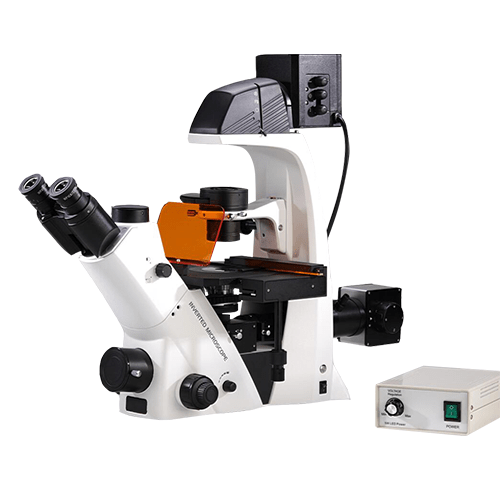
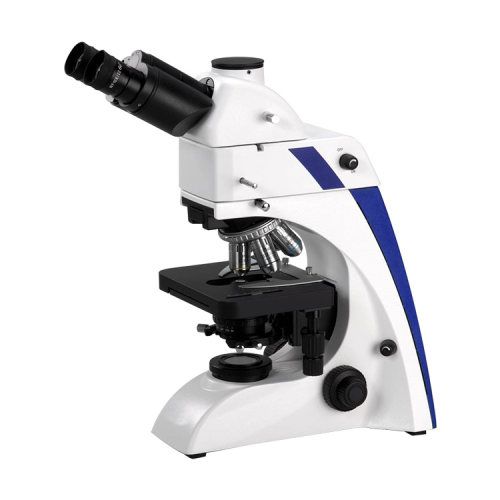
Depending on the type of sample and the intended application, samples are prepared for fluorescence microscope. The quality of the sample preparation determines the quality of the images produced, hence it is important to understand the procedures for preparing samples for fluorescence microscope. All sorts of samples, however, follow a few standard procedures.
4 Steps to Prepare Samples for Fluorescence Microscope
Step 1: Fixation
Preserving the sample and halting its deterioration is the process of fixation. This is critical for a fluorescence microscope because it aids in maintaining the sample’s molecules in their original locations so that they can be seen. There are numerous different fixatives available, and the choice of fixative depends on the kind of sample and the particular application. A fluorescence microscope commonly uses the following fixatives:
- Osmium tetroxide: Osmium tetroxide is a heavy metal that is used to preserve the ultrastructure of cells.
- Glutaraldehyde: Glutaraldehyde is a more powerful fixative than formaldehyde and is often used for electron microscopes.
- Formaldehyde: Formaldehyde is a good general-purpose fixative that is compatible with most fluorescent dyes.
The method of fixing can change based on the fixative being utilized. However, to get rid of any lingering blood or other impurities, the sample is often first rinsed in a buffer solution. After that, the fixative is added to the sample and given some time to incubate. The kind of fixative employed determines how long the incubation period lasts.

Step 2: Permeabilization
The process of permeabilization involves opening up the cell membrane to fluorescent dyes. This is required for the dyes to enter the cells and bind to the target molecules. The choice of permeabilizing agent depends on the kind of sample and the particular application. There are many different permeabilizing agents available. For fluorescence microscope, permeabilizing chemicals frequently used include:
- Triton X-100: Triton X-100 is a non-ionic detergent that is commonly used to permeabilize cells.
- Formaldehyde: Formaldehyde can also be used to permeabilize cells, but it is not as gentle as Triton X-100 or saponin.
- Saponin: Saponin is a plant-derived detergent that is also commonly used to permeabilize cells.
Depending on the permeabilizing agent that is utilized, the permeabilization procedure can change. However, often, a fixative like formaldehyde is used to initially fix the sample. The sample is then given the permeabilizing agent, which is given time to incubate. The kind of permeabilizing chemical employed determines how long the incubation period must be.
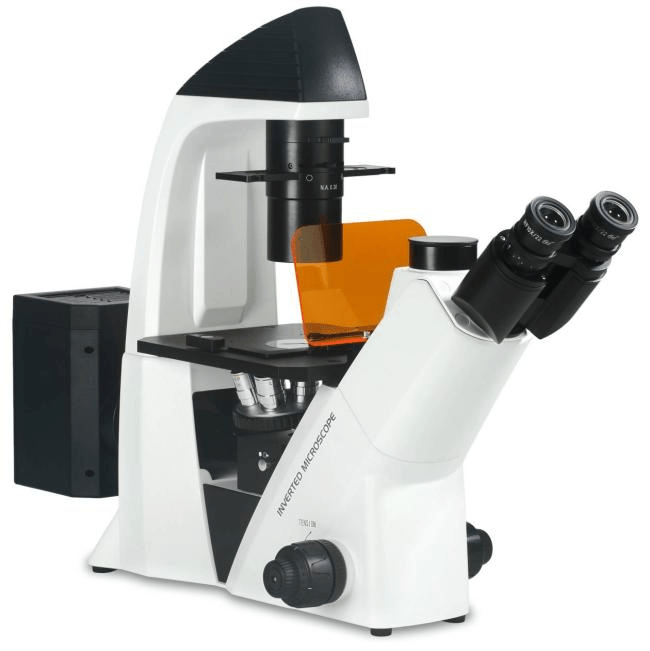
Step 3: Staining
The method of staining involves incorporating fluorescent dyes into the material. When molecules called fluorescent dyes are activated by light with a particular wavelength, they begin to emit light. To use the fluorescence signal to visualize particular molecules in the sample, the dyes are chosen to attach to particular molecules in the sample. Fluorescent dyes come in a wide variety, and the choice of dye depends on the kind of sample and the particular application. Fluorescent dyes that are frequently used in fluorescence microscopes include:
- Cy3: Cy3 is a fluorescent dye that is commonly used to label nucleic acids.
- Cy5: Cy5 is a fluorescent dye that is commonly used to label lipids.
- FITC: FITC is a fluorescent dye that is commonly used to label proteins.
The staining procedure can change based on the fluorescent dye that is employed. The sample is often first rinsed in a buffer solution to get rid of any extra fixative or permeabilizing agent. Following the addition of the dye, the sample is given some time to incubate. Depending on the kind of dye used, the incubation period will vary.
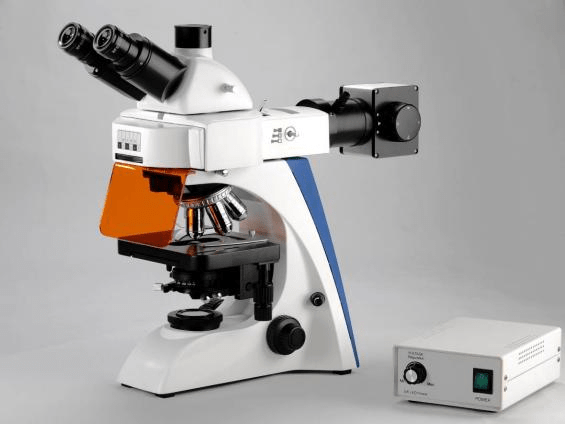
Step 4: Mounting
To observe the sample under a microscope, the sample must be mounted on a slide. This is required to secure the sample and safeguard it from harm. The choice of mounting media relies on the kind of sample and the particular application. There are many different mounting media available. Fluorescence microscope mounting materials frequently used include:
- Hydrogel mounting medium: Hydrogel mounting medium is a clear, water-based gel that is used to mount samples that are sensitive to drying.
- Dropper mounting medium: Dropper mounting medium is a clear, viscous liquid that is commonly used to mount samples for fluorescence microscopes.
- Gel mounting medium: A gel mounting medium is a clear, solid gel that is used to mount samples that are thick or fragile.
The mounting procedure can change based on the mounting media that is being used. Typically, the material is first put on a slide. Next, add a drop of mounting media to the sample and spread it uniformly throughout the surface. To get rid of any air bubbles, the coverslip is next put on top of the mounting medium and gently pressed down.
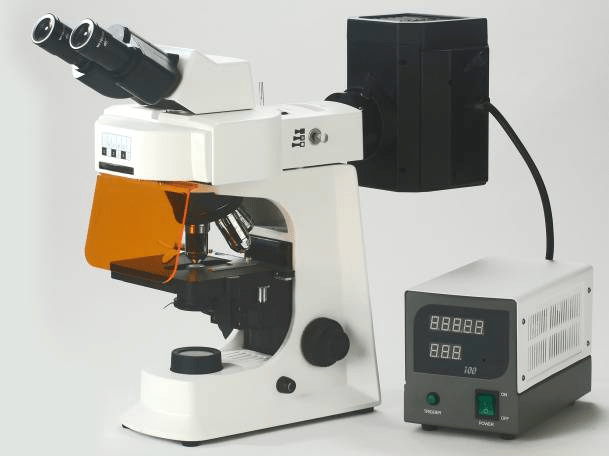
Conclusion
Each of these processes is crucial, and the type of sample and the particular application will determine the specific procedures and reagents utilized. The quality of sample preparation determines the quality of the images produced by a fluorescence microscope. Images will be blurry or distorted if the sample is not properly prepared. The material is preserved and is kept from deteriorating by the fixation and permeabilization processes. This is significant because it enables the fluorescent dyes to bind to the target molecules and generate images with great resolution. The fluorescent dyes can attach to the target molecules during the staining process. This is required to visualize those molecules using the fluorescent signal. The sample is shielded from harm by the mounting process. This is crucial since the sample may be fragile and easy to damage.
