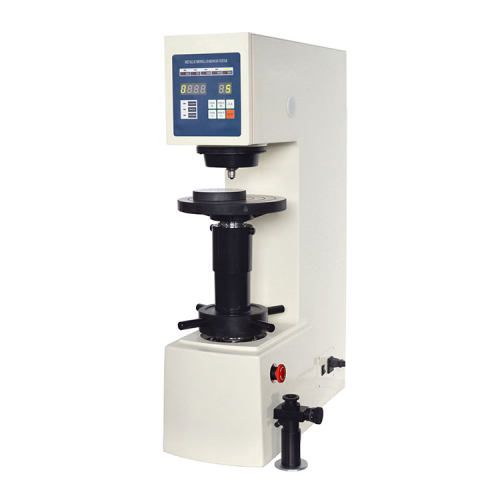
The Brinell Hardness Tester is a versatile and dependable tool for determining the hardness of materials. It works by pressing a hard ball into the material’s surface under a specific load and then measuring the diameter of the resulting indentation. Its ease of use, suitability for a variety of materials and surfaces, and broad range of applications make it a must-have tool in many industries.
Factors Influence Schedule for Routine Maintenance and Calibration of Brinell Hardness Tester
Several factors influence the recommended schedule for routine maintenance and calibration of a Brinell hardness tester, including:
Factor 1: Frequency of Use
With more frequent use, the tester’s moving parts, such as the loading mechanism and measuring system, experience increased stress and friction. This can result in faster wear and tear on components, reducing measurement accuracy. As you run more tests, dust, debris, or lubricant residue may accumulate on the indenter and other critical parts. This can also have an impact on accuracy and may cause damage to delicate components.
Factor 2: Material Being Tested
Different materials will cause varying degrees of wear and tear on the indenter. Harder materials, such as hardened steel, can quickly dull or chip the indenter, necessitating more frequent replacements and calibrations to ensure accurate measurements. Softer materials, such as aluminum or plastics, have a lower impact on the indenter, allowing for longer periods between maintenance and calibration.
Factor 3: Environmental Conditions
Environmental conditions can have a significant impact on the recommended schedule for routine maintenance and calibration of a Brinell hardness tester for several reasons.
- Temperature and humidity: High temperatures can cause component expansion and misalignment, leading to inaccurate measurements. Conversely, low temperatures can cause lubricants to thicken, preventing smooth operation. Humidity can cause rust and corrosion on metal components, particularly if the tester is not stored properly.
- Dust and particles: Accurate measurements can be hampered by dust and airborne particles accumulating on the testing surface. Cleaning and calibration must be performed regularly to maintain accuracy. Testing materials that produce dust or abrasive particles can wear down the indenter and other components faster, necessitating more frequent service and replacement.
Factor 4: Supplier’s Recommendations
Every Brinell hardness tester model has its distinct design and components. The Brinell hardness tester supplier, with intimate knowledge of their product, understands the wear and tear patterns, potential weak points, and optimal maintenance intervals for their model. Their recommendations take into account these differences, ensuring proper care and avoiding problems that may not be common to all Brinell testers.
Specific Maintenance Tasks of Brinell Hardness Tester
Task 1: Cleaning
Residual dirt, debris, or contaminants on the indenter or testing surface can disrupt the indentation formation and measurement process. This can result in inaccurate hardness readings, compromising product quality control, safety assessments, and material characterization.
- Gather Necessary Supplies
- Soft, lint-free cloths (microfiber cloths are ideal)
- Appropriate cleaning solution (consult the Supplier’s manual for recommended solutions)
- Compressed air (optional)
- Cotton swabs (optional)
- Power Down and Disconnect
Always turn off the tester and unplug it from the power source before cleaning.
- Clean the Indenter
Wipe the indenter with a soft cloth dampened with a cleaning solution. Avoid using harsh chemicals or abrasives, which could harm the indenter tip. If necessary, use a cotton swab dipped in the cleaning solution to reach crevices or difficult-to-clean areas. Finally, dry the indenter completely with a clean, dry cloth.
- Clean the Testing Surface
Wipe the testing surface with a soft cloth soaked in the cleaning solution. Make sure to remove any dirt, debris, or oil residue that may interfere with the indentation formation. To remove any loose particles from hard-to-reach areas, use compressed air. Use a clean, dry cloth to thoroughly dry the testing surface.
Task 2: Lubrication
Proper lubrication reduces friction, allowing components to move freely and smoothly, increasing their lifespan and ensuring accurate results. Metal components in the tester are prone to corrosion, particularly in humid environments. Lubrication provides a protective barrier against moisture and oxidation, preventing rust and corrosion, which can impair component functionality and accuracy.
- Identify lubrication points: Use the user manual to identify specific lubrication points on your tester model. These are typically friction points on moving components such as gears, shafts, and bearings.
- Choose the right lubricant: Use the Supplier’s recommended lubricant, which is appropriate for the materials and operating conditions of your tester.
- Apply the lubricant sparingly: Over-lubrication can attract dust and debris, reducing accuracy and potentially introducing contamination.
- Follow the recommended frequency: The Supplier’s instructions will specify how often to lubricate each point based on usage and environmental conditions. Follow the recommended schedule for best results.
Task 3: Replacement of Parts
Replacing worn-out parts reduces the likelihood of malfunctions or breakdowns while testing. This minimizes disruptions to your workflow and ensures consistent data collection.
- Common Parts Requiring Replacement
- Indenter: The indenter is crucial for creating an indentation on the test material. It is susceptible to wear and tear, particularly when testing hard or abrasive materials.
- Loading Mechanism: This system applies a specified force to the indenter. Its components, such as springs or levers, can wear over time, affecting the accuracy with which force is applied.
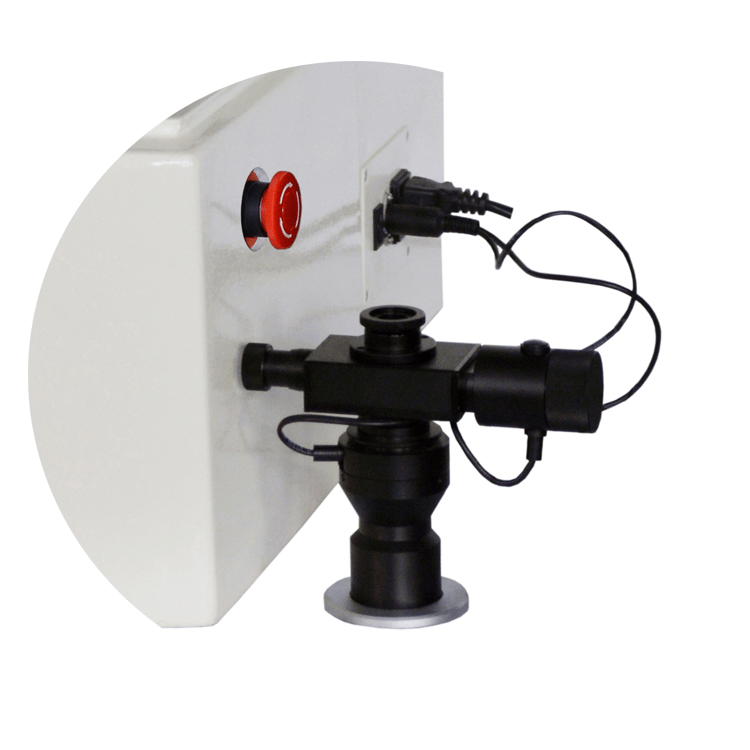
- Measuring System: The system measures the indentation diameter, which is important for calculating hardness. Its components, such as a ruler or optical sensor, may become misaligned or lose accuracy over time.
- Replacement Process
- Consult the user manual: Refer to Supplier instructions for specific procedures, recommended tools, and compatible replacement parts.
- Safely power down and disconnect the tester.
- Identify the part requiring replacement: Locate the worn-out component and get the correct replacement.
- Carefully remove the old part: Follow the Supplier’s instructions to dismantle the relevant parts without harming the surrounding components.
- Install the new part: Ensure proper alignment and secure installation as per manual instructions.
- Calibrate the tester: After replacing critical parts, such as the indenter or loading mechanism, it’s important to have the tester calibrated by a qualified technician for accurate measurements.
Task 4: Checking for Wear and Tear
Regularly inspecting for wear and tear allows you to detect potential problems early on and take preventative measures, such as lubrication or replacement, to avoid costly breakdowns and downtime.
- How to Check for Wear and Tear
- Visual Inspection: Visually inspect the indenter, loading mechanism, and other critical components for signs of wear, including cracks, chips, or excessive wear on contact surfaces.
- Performance Testing: Perform periodic performance tests with certified reference blocks or test materials. Compare the measured hardness values to the known values for the reference materials. Significant deviations indicate potential errors in the instrument’s accuracy.
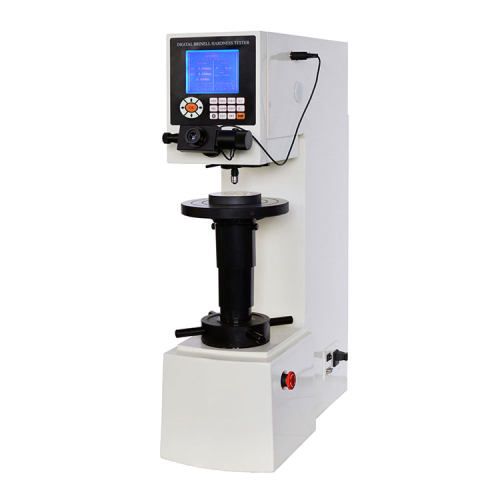
- Specific Components to Check
- Indenter: The indenter is the most important component for accurate hardness measurement. Check for chipping, rounding, or flattening of the indenter tip. Replace the indenter if it shows signs of significant wear.
- Loading Mechanism: Ensure the loading mechanism operates smoothly and applies the appropriate force per test specifications. Check for signs of binding, leaks, and excessive noise.
- Measuring System: The measuring system, whether manual or digital, should provide precise readings of the indentation diameter. Check for inconsistencies or malfunctions in the measuring system.
Conclusion
By prioritizing proper maintenance, you can ensure that your Brinell hardness tester produces accurate and consistent results, saving you time, money, and potential safety concerns in the long run. Remember that a well-maintained instrument is an invaluable asset in any industry that requires precise hardness measurements.


