Petrographic analysis plays a pivotal role in geological studies, offering insights into the composition, structure, and texture of rocks and minerals. A crucial aspect of this analysis is the preparation of thin sections, which involves transforming a rock sample into a translucent slice suitable for microscopic examination. This article delves into the techniques and methodologies involved in preparing high-quality petrographic thin sections.
What is Petrographic Thin Section?
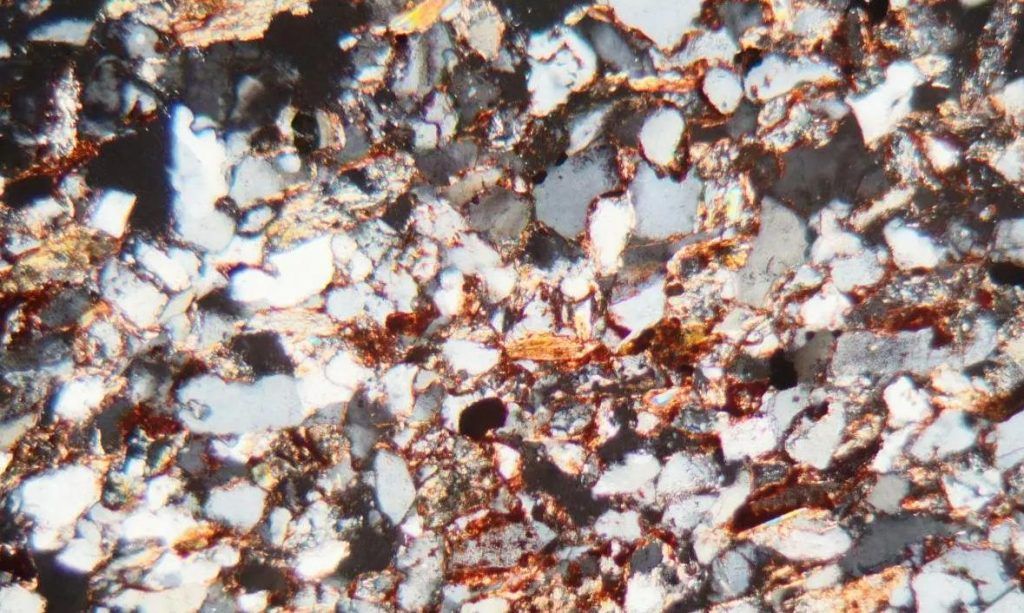
Petrographic thin sections are incredibly thin slices of rock or mineral samples, typically measuring around 30 microns in thickness. These sections are prepared to be translucent, allowing light to pass through them for detailed microscopic examination. This process enables geologists and petrographers to study the mineralogical composition, texture, and structure of rocks at a microscopic level.
Essential Equipment for Thin Section Preparation
The creation of petrographic thin sections involves several critical steps and specialized equipment:
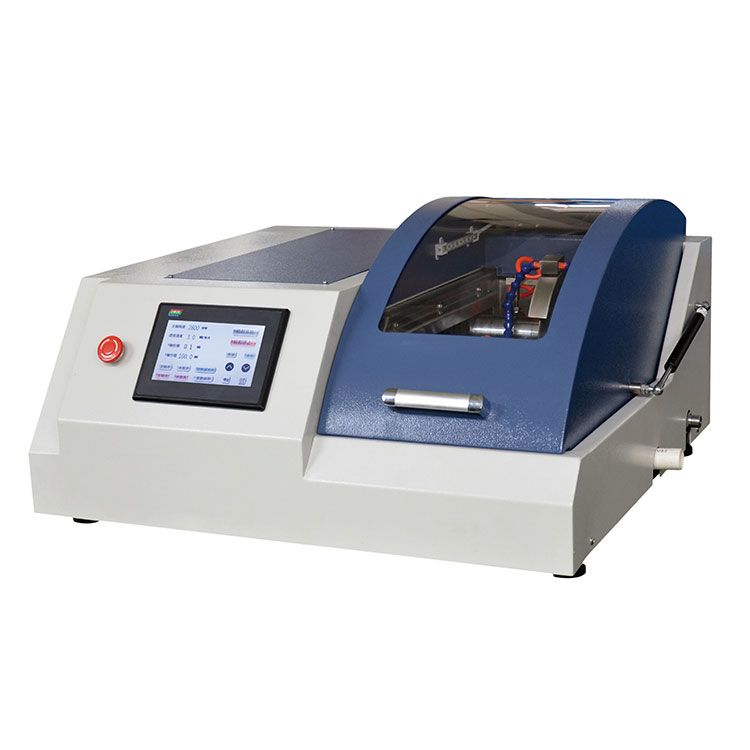
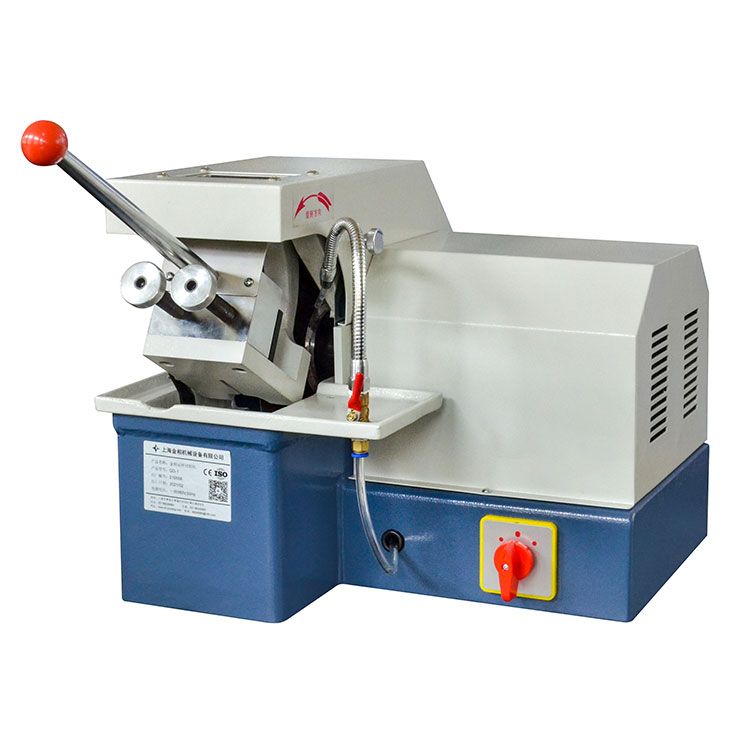
Lithofacies Sample Cutting Machine: These precision instruments are central to the process, as they are used to cut the rock sample into thin slices with exacting thickness.
Diamond saws: Initial cutting of larger rock samples into smaller, more manageable pieces. Diamond-tipped blades are used due to their hardness and precision.
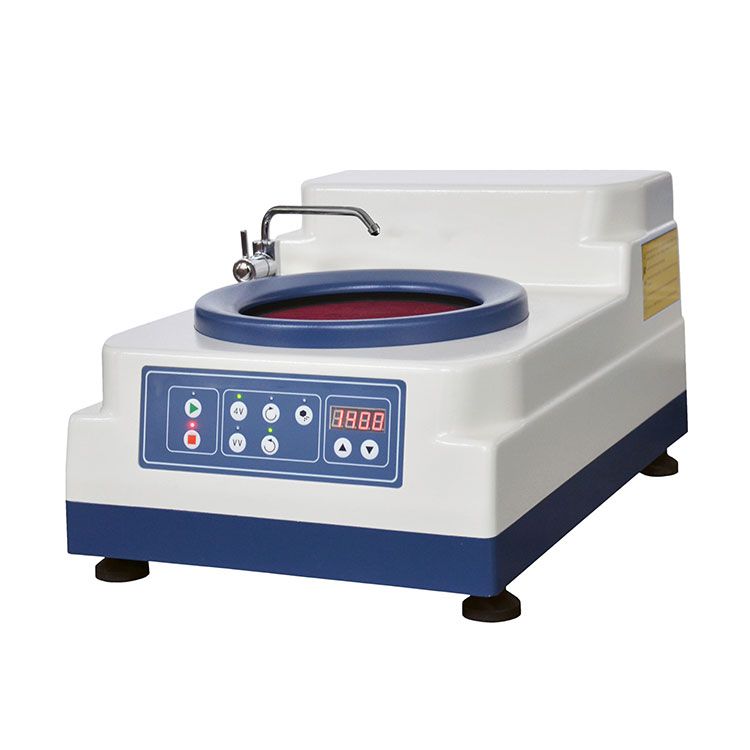
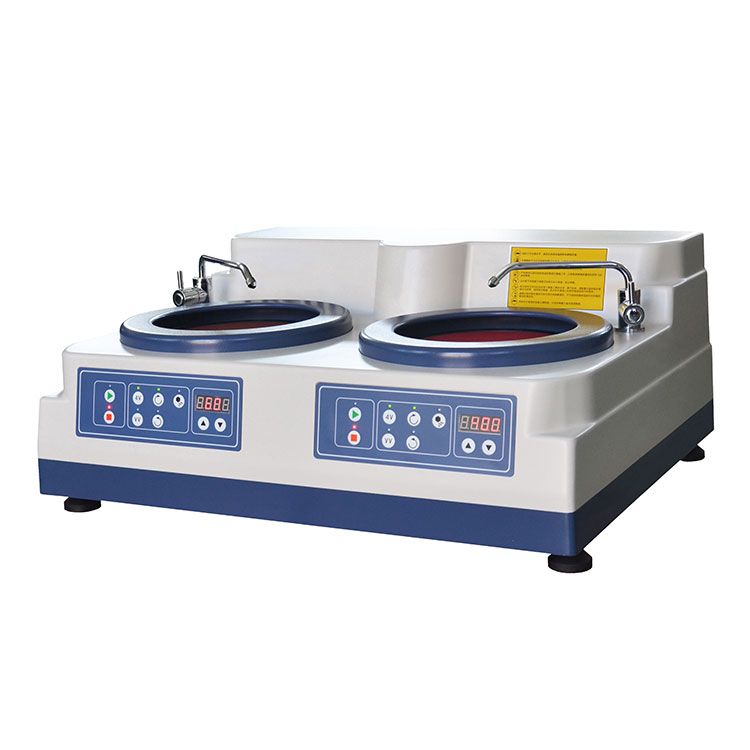
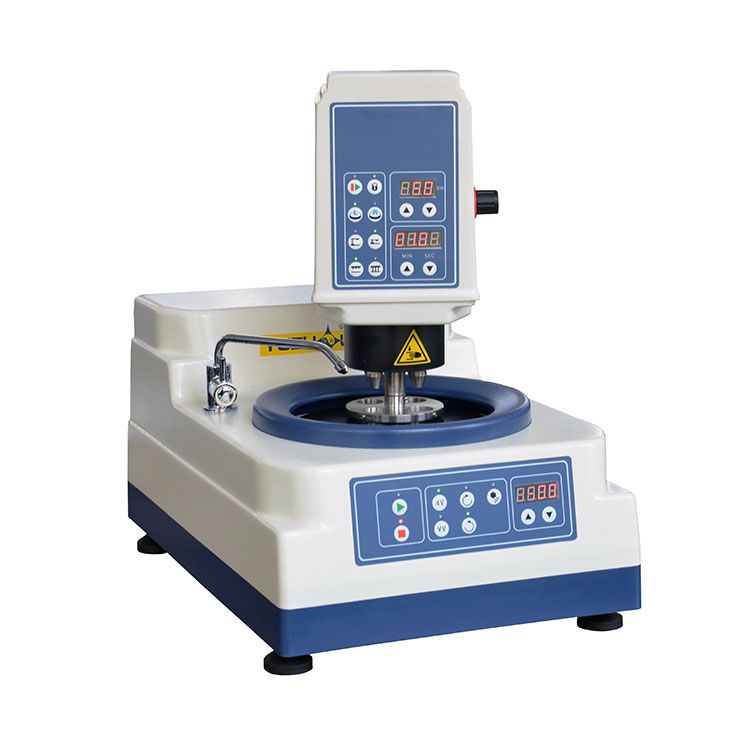
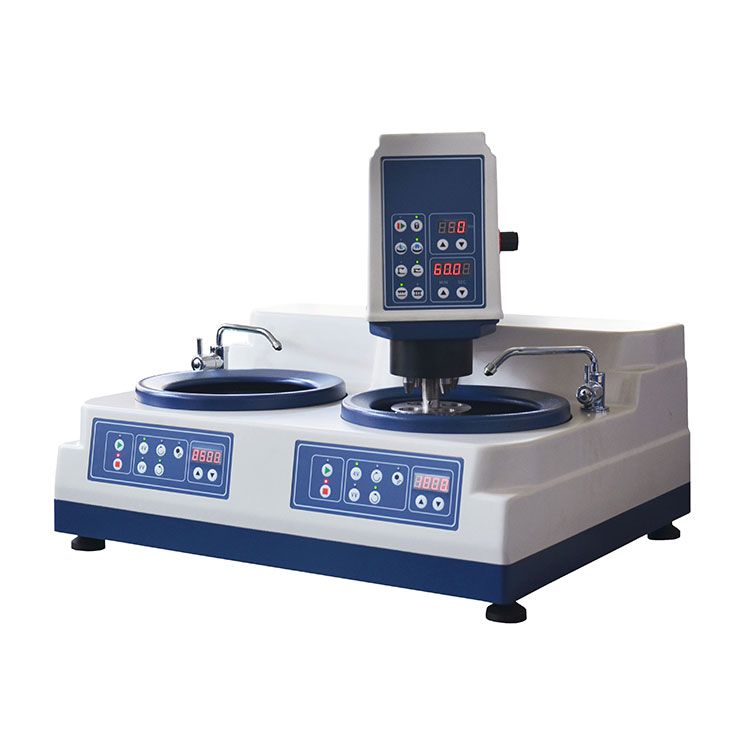
Grinding and Polishing Equipment: After cutting, the samples undergo grinding to reduce their thickness further. This step is crucial for achieving the desired thinness and uniformity across the entire section. Subsequent polishing ensures a smooth surface that allows for optimal light transmission during microscopic examination.
Safety measures must be strictly observed due to the use of sharp cutting tools and exposure to chemicals during the preparation process.

How to Prepare Petrographic Thin Section Samples?
Throughout the preparation process, quality control measures are implemented to minimize artifacts and ensure the integrity of the thin section. Any imperfections or irregularities can distort the microscopic observations and analysis, underscoring the importance of meticulous technique and attention to detail. Let’s know more about the detailed steps and techniques.
Steps in Petrographic Sample Preparation
Preparing petrographic thin sections is a meticulous process that involves several precise steps to ensure the quality and accuracy of the final product. Here’s a detailed guide to each stage of the preparation:
1. Collection and Initial Examination:
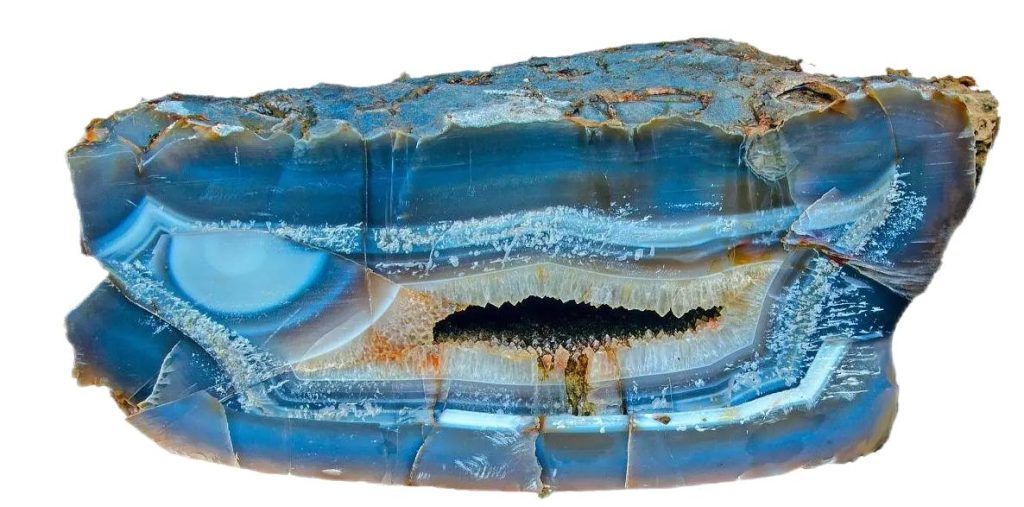
Sample Selection: Begin by selecting a representative rock sample that accurately reflects the characteristics of the geological formation under study. The sample should be chosen based on its lithology, mineralogy, and any specific features of interest.
Initial Examination: Conduct a visual inspection and preliminary examination of the sample to identify key features such as texture, mineral composition, and structural elements. This helps in planning the subsequent steps of thin section preparation.
2. Cutting and Trimming:
Initial Cutting: Use diamond saws to cut the rock sample into smaller, more manageable pieces. This initial cutting is essential for reducing the sample to a size that fits within the dimensions of the thin section slide and facilitates handling during further processing.
Trimming: Trim the cut pieces further to obtain a sample that is slightly larger than the glass slide on which it will be mounted. This ensures that the entire surface area of interest is covered without excess material that could interfere with the mounting process.
3. Mounting the Sample:
Preparing the Slide: Clean and prepare a glass slide that will serve as the base for the thin section. The slide should be free of dust, grease, or any contaminants that could affect the quality of the mounting.
Mounting Process: Apply a thin layer of epoxy resin or another suitable adhesive onto the cleaned slide. Carefully place the trimmed rock sample onto the adhesive, ensuring that it is centered and positioned correctly. Apply gentle pressure to secure the sample in place and allow the adhesive to cure as per manufacturer instructions. This step is crucial for achieving a strong bond between the sample and the slide.
4. Grinding and Thinning:
Initial Grinding: Once the adhesive has cured, begin the grinding process using a series of abrasive materials with progressively finer grit sizes. This step aims to reduce the thickness of the sample gradually while maintaining uniformity across the entire section. Continuous monitoring and measurement of the sample thickness are essential to ensure it reaches the desired thinness (typically around 30 microns).
Final Thinning: As the sample approaches the desired thickness, switch to finer abrasives to achieve the final thinning. This stage requires careful control and precision to avoid over-grinding, which can lead to uneven thinning or damage to the sample.
5. Polishing:
Polishing Procedure: Once the sample has been thinned to the appropriate thickness, proceed to polish the thin section to achieve a smooth and flat surface. Use polishing cloths or pads with a fine polishing compound to remove any remaining scratches or surface imperfections. The goal is to create a polished surface that allows for optimal light transmission during microscopic examination.
Final Inspection: After polishing, visually inspect the thin section under appropriate lighting conditions to ensure that the surface is free of defects and artifacts that could interfere with microscopic analysis.
6. Quality Control and Finalization:
Quality Assurance: Throughout the entire preparation process, implement rigorous quality control measures to verify the integrity and quality of the thin section. This includes checking for uniform thickness, absence of bubbles or cracks, and overall clarity of the mounted sample.
Labeling and Documentation: Once the thin section has passed quality control checks, label it appropriately with essential information such as sample location, date of preparation, and any relevant geological context. Document the preparation process and findings for future reference and analysis.
Preparing petrographic thin sections requires patience, attention to detail, and adherence to established techniques. Each step in the process plays a crucial role in producing a high-quality thin section that provides accurate insights into the mineralogical composition, texture, and structure of rocks and minerals. By mastering these techniques, geologists can enhance their understanding of geological processes, formations, and environmental histories through detailed microscopic analysis.
Techniques for Achieving High-Quality Thin Sections
- Maintaining Coolant Flow: During cutting and grinding, a continuous flow of coolant is essential to prevent overheating and damage to the sample.
- Using Appropriate Abrasives: Selecting the correct sequence of grinding grits ensures efficient material removal while minimizing scratching.
- Proper Mounting Techniques: Careful application of epoxy and elimination of air bubbles are crucial for a strong bond between the sample and the slide.
- Polishing Time Optimization: Over-polishing can alter the sample’s composition, so achieving optimal clarity within a reasonable timeframe is important.
Conclusion
In conclusion, the preparation of petrographic thin sections demands precision, patience, and adherence to established techniques. Achieving high-quality thin sections requires not only technical proficiency but also an appreciation for the geological context and objectives of the analysis. By mastering the techniques outlined in this article, geologists can enhance their understanding of Earth’s history, processes, and resource potential through detailed petrographic analysis.