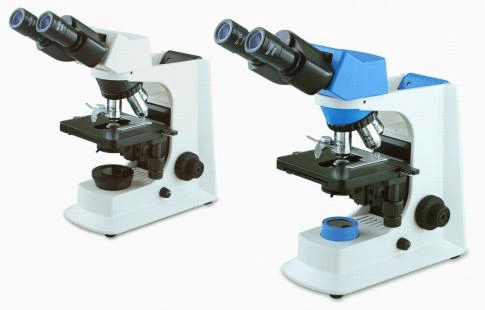
An optical microscope is a powerful tool used in various scientific fields, including biology, materials science, and geology. The clarity and quality of the images obtained under the microscope depend significantly on the proper preparation of specimens. This article will explore key considerations for specimen preparation, common techniques, and essential equipment needed to achieve the best possible results.
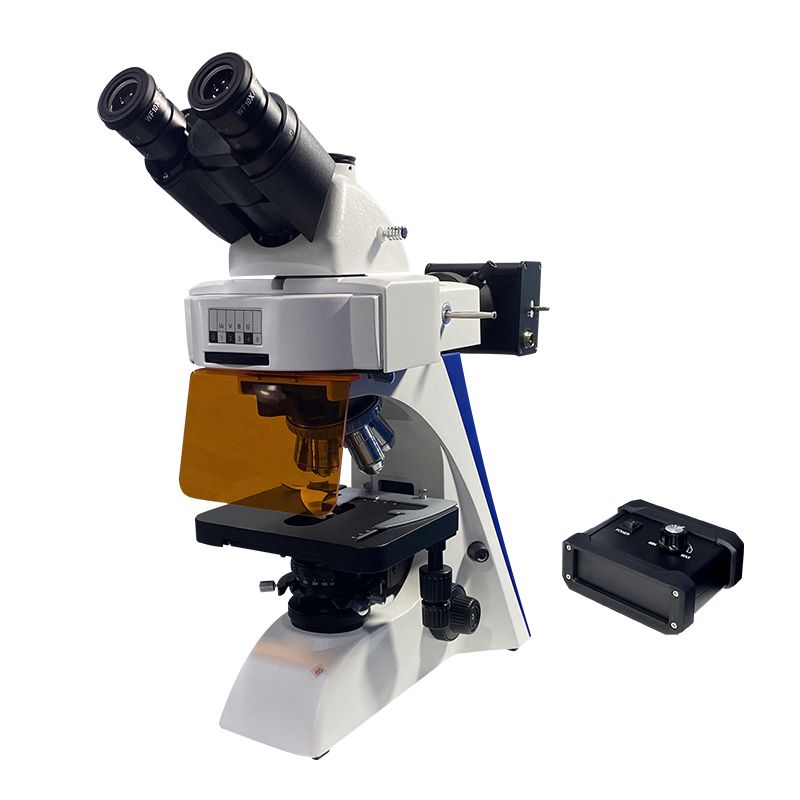
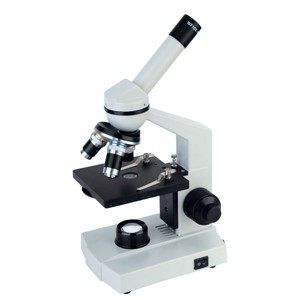
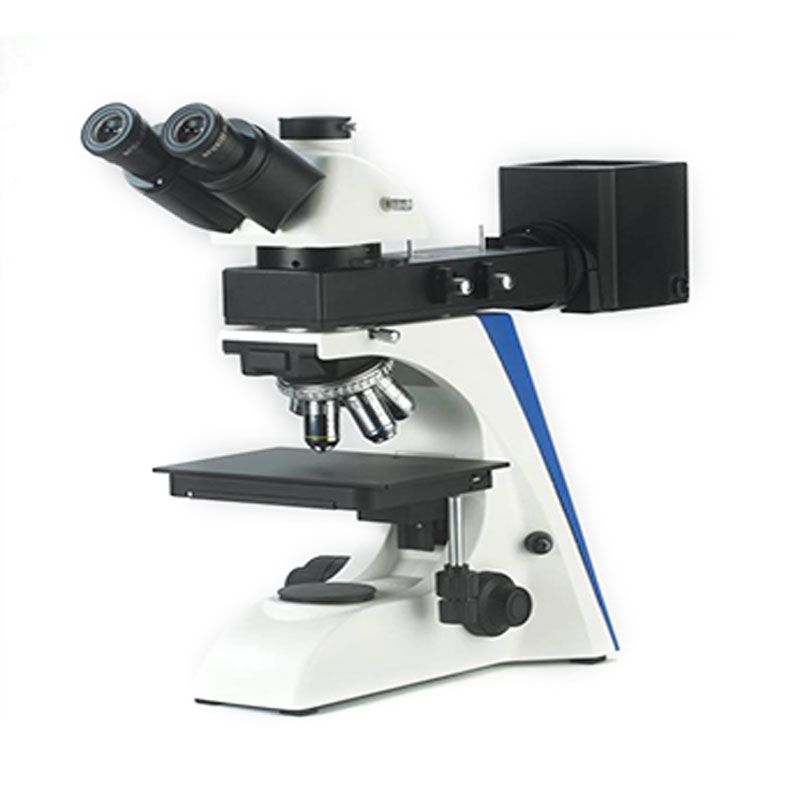
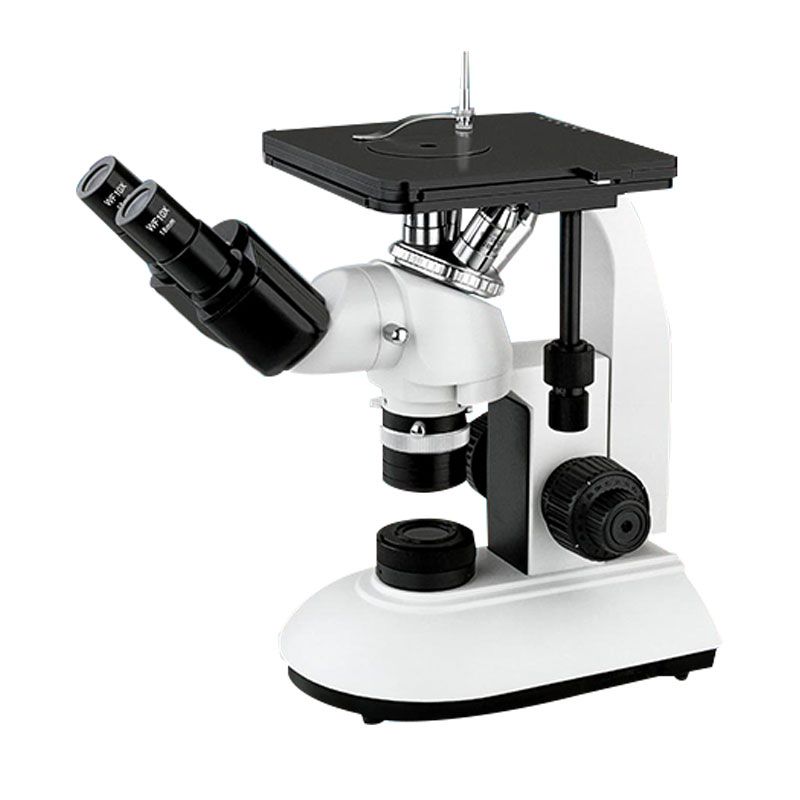
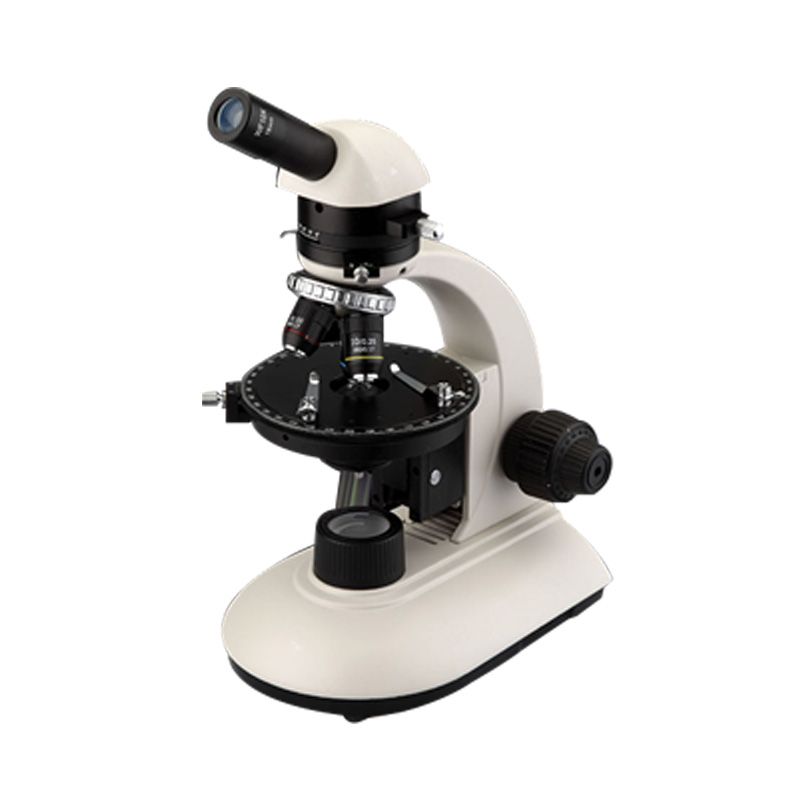
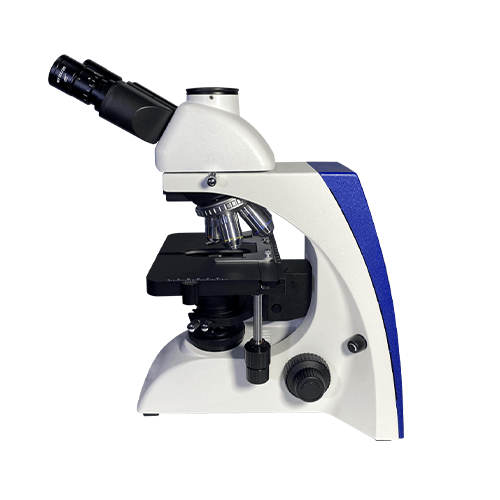
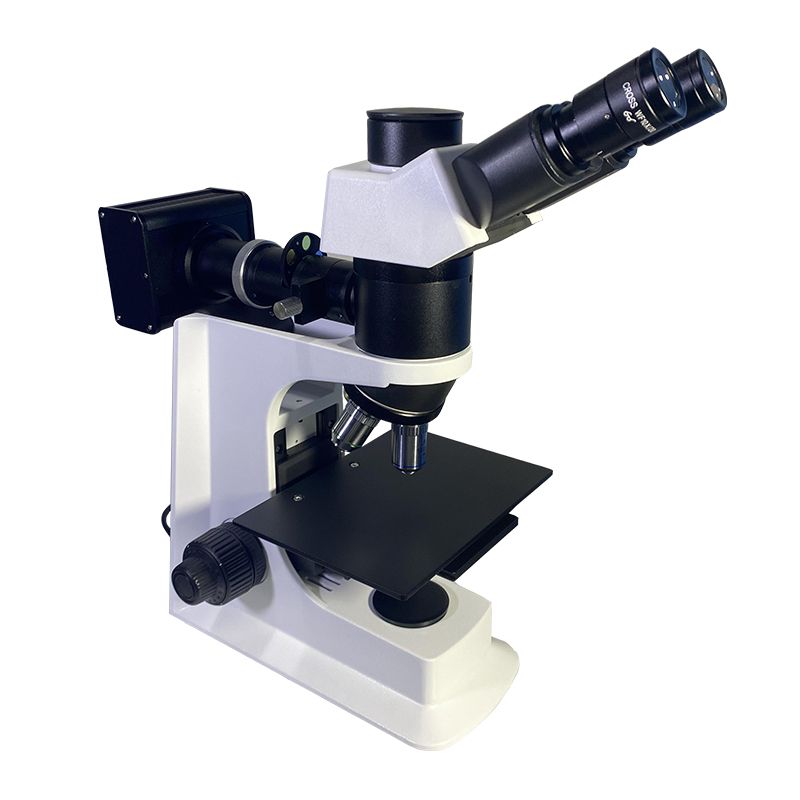
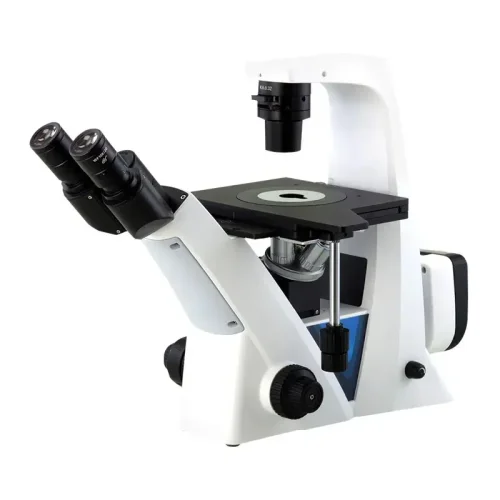
Microscopes fall into two main categories: optical and electron microscopes. Scopelab specializes in optical microscopes. These instruments are primarily used for observing microscopic organisms and industrial identification. Optical microscopes can be further categorized into biological, fluorescence, polarizing, metallographic, and stereo microscopes. Based on the light source position, they are classified as upright or inverted microscopes. Additionally, they can be grouped by their intended use into student-level, teaching-level, and research-level microscopes.
Key Considerations for Specimen Preparation
Before diving into specific techniques, two crucial factors influence the preparation process:
A. Sample Type:
The preparation methods employed significantly depend on the nature of the specimen.
Biological Samples (Tissue, Cells)
Biological specimens such as tissues and cells require delicate handling to preserve their structure and function. Preparation techniques often include fixing the tissue to prevent degradation, embedding it in a medium for support, sectioning it into thin slices, and staining to highlight specific structures.
Inorganic Samples (Minerals)
Inorganic samples like minerals need different approaches. They are usually harder and require cutting, grinding, and polishing to create a flat surface. This process ensures that light can pass through or reflect off the sample effectively, providing clear images under the microscope.
Synthetic Materials (Polymers)
Synthetic materials such as polymers can vary widely in their properties. Preparation techniques might include slicing thin sections, embedding in resins, or treating with solvents to reveal internal structures. The method chosen depends on the polymer’s hardness and the features of interest.
B. Desired Observation
The specific structures or features of interest within the specimen also dictates specific preparation methods. For example, observing cell components such as nuclei or mitochondria may require staining with specific dyes that bind to these structures, enhancing their visibility under the microscope. For materials science, surface treatments or coatings might be applied to highlight particular features or phases. Conversely, observing the surface topography of a material may necessitate minimal processing to maintain its natural state.
Common Specimen Preparation Techniques
Preparing specimens for optical microscopy involves a series of steps tailored to the type of sample and the desired observation. Below are the detailed descriptions of the most common specimen preparation techniques:
1. Fixation
Purpose: Stabilizes and preserves biological tissues, preventing degradation and maintaining structural integrity.
Process:
- Chemical Fixation: Involves immersing the sample in a fixative solution such as formaldehyde, glutaraldehyde, or alcohols. These chemicals cross-link proteins and nucleic acids, effectively “freezing” cellular structures in place.
- Physical Fixation: Techniques like freezing the sample using liquid nitrogen. This is often used in conjunction with cryostat sectioning, which cuts thin sections at very low temperatures.
Considerations: The choice of fixative depends on the type of tissue and the structures to be observed. For example, formaldehyde is commonly used for general tissue fixation, while glutaraldehyde is preferred for preserving fine cellular details.
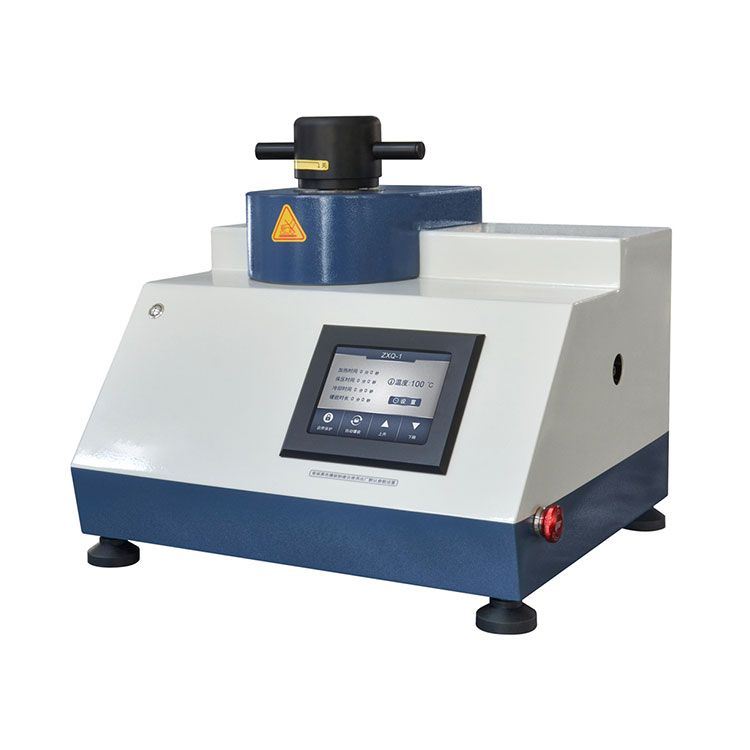
2. Embedding
Purpose: Encasement of the specimen in a medium to provide support during slicing.
Process:
- Paraffin Embedding: Involves dehydrating the specimen through a series of alcohol baths, clearing with a solvent like xylene, and then infiltrating with molten paraffin wax. The sample is then placed in a mold and allowed to harden.
- Resin Embedding: Used for harder tissues and materials. The specimen is infiltrated with a liquid resin (such as epoxy or acrylic) which is then polymerized (hardened) to form a solid block.
Considerations: Embedding medium should be chosen based on the hardness of the specimen and the thickness of the sections required. Paraffin is ideal for soft tissues, while resins are better for harder specimens.
3. Sectioning
Purpose: Cutting the specimen into thin slices necessary for light to pass through or for detailed surface observation.
Process:
- Microtome Sectioning: Uses a microtome to cut paraffin-embedded samples into thin sections, typically 5-10 micrometers thick. The sections are then floated on a water bath and mounted on glass slides.
- Ultramicrotome Sectioning: For resin-embedded samples, ultramicrotomes can cut sections as thin as 50-100 nanometers, essential for detailed microscopy.
Considerations: Section thickness must be appropriate for the type of microscopy. Thicker sections may be suitable for brightfield microscopy, while ultra-thin sections are necessary for techniques like electron microscopy.
4. Staining
Purpose: Enhances contrast and highlights specific structures within biological specimens.
Process:
- General Stains: Hematoxylin and eosin (H&E) are widely used; hematoxylin stains cell nuclei blue, while eosin stains cytoplasm and extracellular matrix pink.
- Special Stains: Specific dyes like PAS (Periodic Acid-Schiff) for carbohydrates, or immunohistochemical stains that use antibodies to detect particular proteins.
Considerations: The choice of stain depends on the cellular components of interest. Multiple staining techniques can be combined for more detailed analysis.
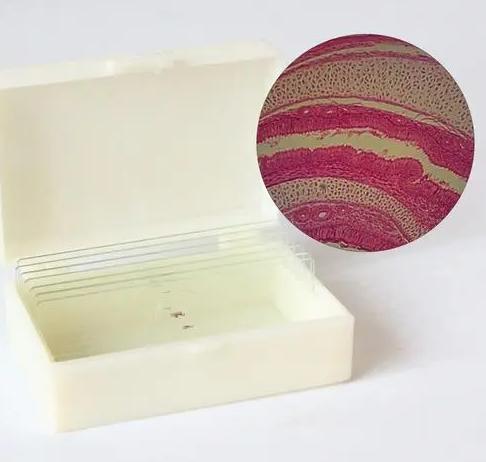
5. Mounting
Purpose: Secures the specimen on a glass slide and protects it with a coverslip for observation under the microscope.
Process:
- Mounting Medium: A drop of mounting medium (e.g., Canada balsam or synthetic resins) is placed on the specimen, followed by placing a coverslip on top.
- Air Drying: Some samples may require air drying before applying the coverslip to prevent bubbles and ensure even spreading of the mounting medium.
Considerations: The mounting medium should match the refractive index of the specimen to reduce light scattering and enhance image clarity.
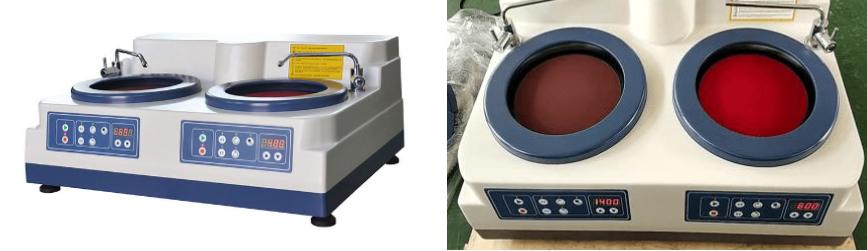
6. Polishing (for Inorganic Samples)
Purpose: Creates a smooth, flat surface on inorganic samples to ensure clear imaging.
Process:
- Cutting: Using a diamond saw to obtain a thin slice of the mineral or synthetic material.
- Grinding: Progressively finer abrasive papers are used to grind the sample surface.
- Polishing: Final polishing is done with fine abrasive pastes or cloths to achieve a mirror-like finish.
Considerations: Proper polishing is crucial for mineral samples as it prevents scratches that can interfere with light transmission and reflection.
Additional Techniques
Critical Point Drying: Used for delicate biological samples to avoid shrinkage or collapse during drying.
Cryosectioning: Involves freezing the sample and sectioning it with a cryostat. Useful for specimens that are difficult to fix chemically.
Each of these techniques must be carefully selected and executed based on the sample type and the specific requirements of the observation. Proper preparation is essential to obtaining high-quality, informative images under the optical microscope.
Essential Equipment for Specimen Preparation
Proper specimen preparation for optical microscopy requires a variety of specialized equipment to ensure samples are adequately fixed, embedded, sectioned, stained, and mounted. Here are the overview of the essential equipment used in specimen preparation.
- Fixatives: Chemicals like formaldehyde or glutaraldehyde for preserving biological tissues.
- Microtome: A precision instrument for cutting thin sections of specimens.
- Embedding Medium: Paraffin, resin, or other materials to encase specimens before sectioning.
- Stains and Dyes: Various chemical stains such as hematoxylin and eosin for biological samples.
- Slides and Coverslips: Glass slides for mounting specimens and coverslips to protect them.
- Polishing Tools: Equipment like grinders and polishers for preparing mineral samples.
Conclusion
Proper specimen preparation is crucial for obtaining high-quality images with an optical microscope. Understanding the nature of the sample and the desired observation goals helps determine the appropriate preparation techniques and equipment. Whether dealing with biological tissues, inorganic minerals, or synthetic polymers, careful preparation ensures that microscopic analysis yields valuable and accurate insights.
Scopelab can provide you specimen preparation and analyze equipments from container to optical microscope. As a professional laboratory equipment supplier, they also can provide you the machine for cutting, mounting, drinding and polishing. Feel free to contact them when you need.